However, one recipe that my husband and kids LOVE are these cookies I learned to make growing up. For sake of a better name, they were called "Good Roll and Cut Cookies". Creative? No. Descriptive? Yes. These cookies are perfect for...you guessed it: rolling out and cutting with cookie cutters. I can't count the number of times I've made these, but I would venture to say I've made them more than any other cookie recipe I own. The reason is that they are super simple, they make a decent amount and you can use them any time of year. They are definitely my go-to for cookie cutter cookies.
Let's get started!
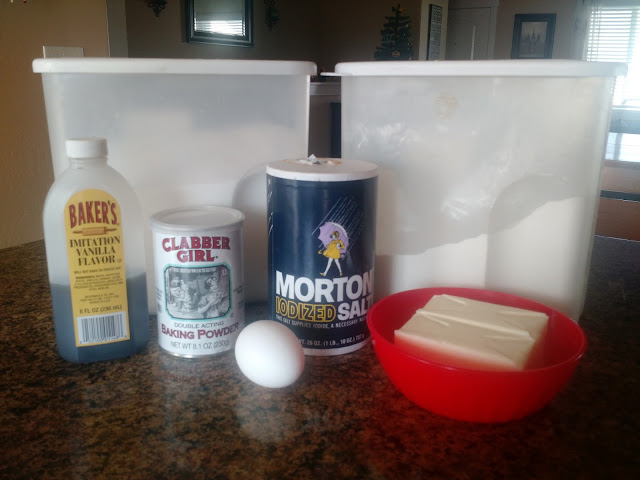
Here is what you'll need:
Preheat the oven to 400 degrees.
In a medium bowl, cream your butter and sugar. Make sure your butter is softened but not melted. You can use a hand mixer or a spoon (I use a metal spoon.). *Tip: If you need to soften your butter, you can unwrap it and put it in a bowl in the microwave for 30 second intervals at power 3 or 4 (30-40% of full power). This comes in handy when you forget to pull your butter out of the fridge/freezer to soften at room temperature.
Add the vanilla and egg and mix well. Add the flour, baking powder and salt and combine.
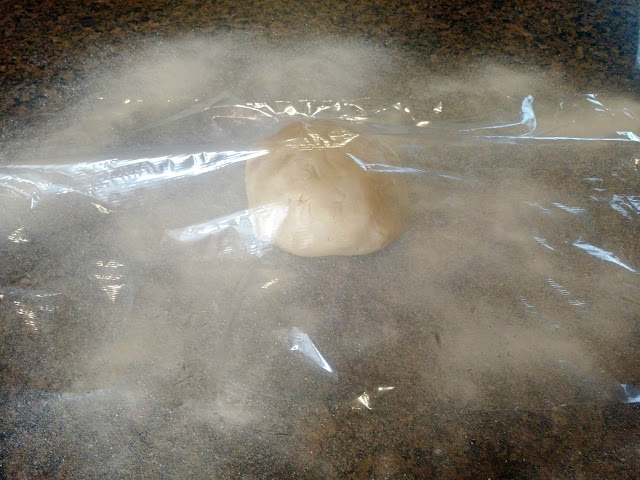
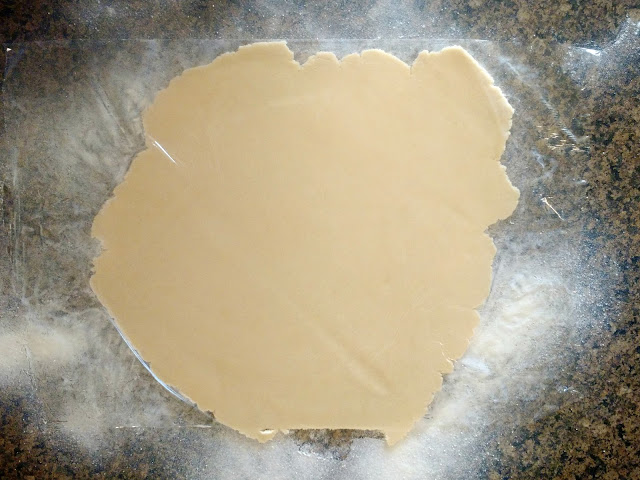
Divide the dough in half and form one half into a ball shape. It doesn't have to be perfect. Flour your surface well. (I use my flour sifter.) Place the ball in the middle of the flour. Roll the dough out to about 1/8" thick.
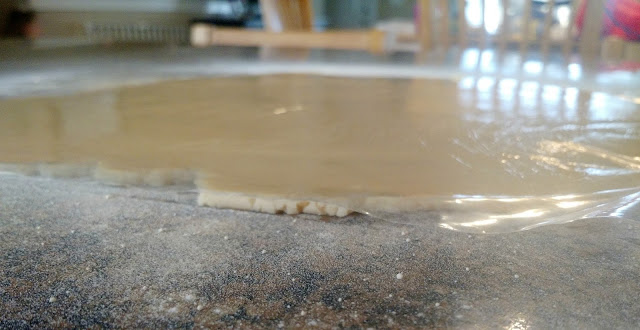
Tip: Get a piece of plastic wrap and lay it over the top of the dough. Then roll the dough out using your rolling pin. The dough won't stick to the plastic wrap! Doing it this way also means you don't have to use any flour on the top of the dough, which will lead to less crumbly cookies. (This also works great when rolling out pie crust!)
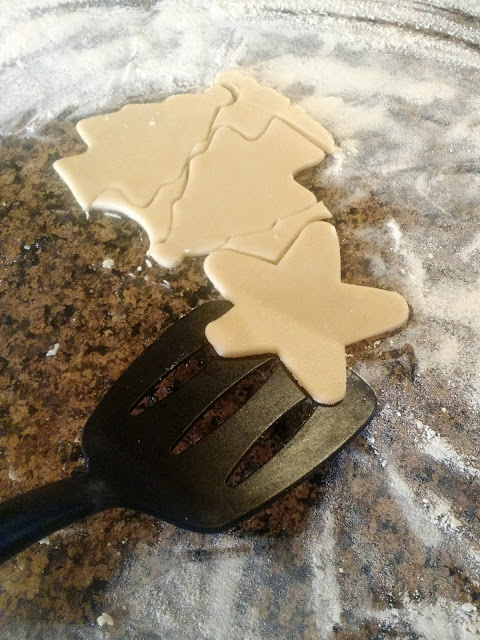
Then place your cookie cutters on the dough. I try to make as many cookies as possible out of each sheet of dough so I'm not adding too much flour to the dough each time it gets rolled out. Using a spatula, place your cookies on your cookie sheet.
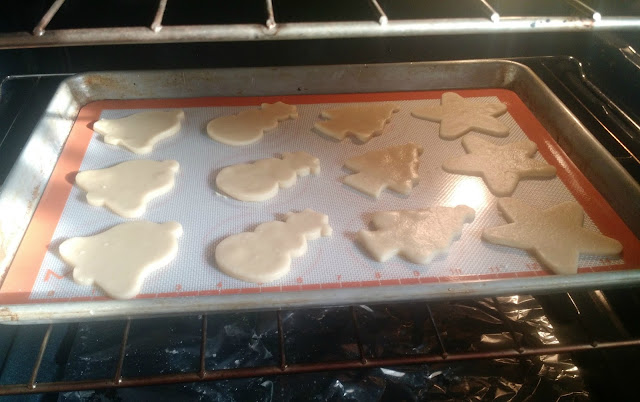
I use a silpat whenever I'm making cookies, which is basically a silicone mat that can be reused and helps prevent the cookies from sticking to the pan or getting burnt on the bottom. I use these (affiliate link).
Place cookies in oven for 6-8 minutes. You don't want them to brown. If you're not sure they are done, softly press on one and if it still soft, keep it in for a little longer. They will feel mostly firm when they are done.
Take them out and let them rest for a minute or two and then place them on a cooling rack or muslin type cooling cloth. (I'm not sure what they are called but I got some for my wedding and I love them!)
The amount of cookies you get out of each batch of this dough will vary since the size of the cookie cutters used varies. I generally get between 2-4 dozen.
Allow them to cool completely. If you want to frost them the same day, you can leave them out. If you want to wait a day, store them in an airtight container on the counter.
Now for the frosting...
I guess it's really more like icing since it is pretty runny and sets with a shiny finish. Whatever you want to call it, here's how to make it:
In a medium bowl, combine powdered sugar, milk and vanilla. You can stir by hand or with a hand mixer. There is not an official recipe I use for this, but more of a how does it look and taste? I've included approximate measurements, but it will vary a little.
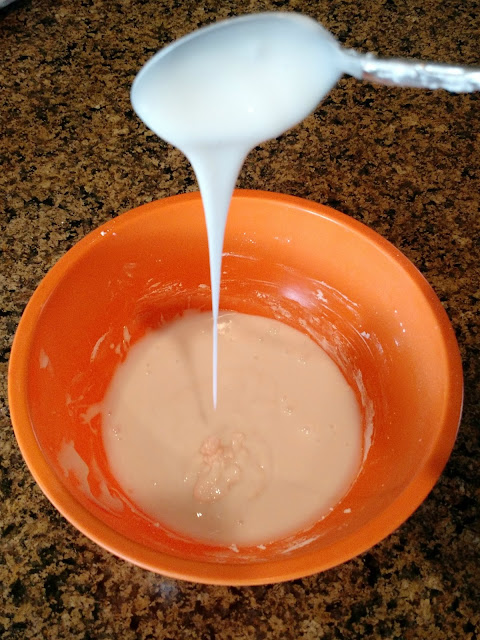
You will know that it is the right consistency when you scoop some onto a spoon and when you let it fall back into the bowl, it goes in a steady stream, almost like syrup, but a little thicker. The flavor is up to you. I like mine not to to be overly sweet so I add a little more vanilla so it has more of a flavor.
If you want to do different colors, get a few small bowls and divide it out, then add the color. When you are adding your food coloring, keep in mind that you may have to add a little more powdered sugar since the amount of food coloring you add will affect the consistency.
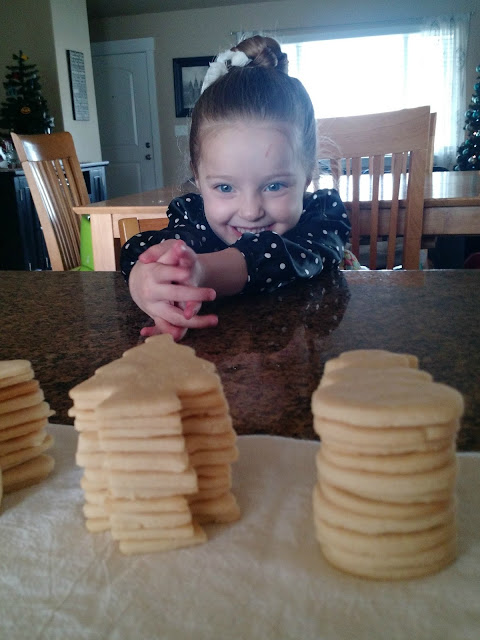 |
| My little sprinkle helper |
Since this icing/frosting is more on the runny side, I like to use a small spoon to frost the cookies instead of a knife. I scoop a little onto my spoon, pour it in the middle of the cookie and spread outwards, leaving a space between the edge of the cookie and my frosting. Then I add any sprinkles or other cookie decorations I want since it will begin to set fairly quickly--within 2-3 minutes. Make sure to stir up your frosting, as it will probably start to form a thin "crust" on the top, but it's nothing to worry about and should mix right back in.
Let your cookies sit out and set for about an hour or so before putting them back in a container. If you have to stack them, put a sheet of wax paper or parchment paper between each layer so they don't stick to each other. Store them in an airtight container either in the fridge or on the counter for up to a week.
One more thing: These cookies actually taste better after they've been sitting for a day or so. The reason why is that the frosting and the cookie have time to set up together and the sweetness of the frosting is balanced out by the not very sweetness of the cookie. Trust me on this.
Good Roll and Cut Cookies
makes 2-4 dozen, depending on size of cookie cutters
Ingredients:
- 1 cup butter, softened
- 1/2 cup sugar
- 1 egg
- 2 tsp. vanilla extract
- 2 1/2-3 cups flour
- 1/2 tsp. baking powder
- 1/8 tsp. salt
- Preheat the oven to 400 degrees.
- In a medium bowl, cream your butter and sugar. Make sure your butter is softened but not melted. You can use a hand mixer or a spoon (I use a metal spoon.).
- Add the vanilla and egg and mix well. Add the flour, baking powder and salt and combine.
- Divide the dough in half and form one half into a ball shape. It doesn't have to be perfect. Flour your surface well. (I use my flour sifter.) Place the ball in the middle of the flour. Roll the dough out to about 1/8" thick.
- Then remove the plastic wrap and place your cookie cutters on the dough. I try to make as many cookies as possible out of each sheet of dough so I'm not adding too much flour to the dough each time it gets rolled out. Using a spatula, place your cookies on your cookie sheet. I use a silpat whenever I'm making cookies, which is basically a silicone mat that can be reused and helps prevent the cookies from sticking to the pan or getting burnt on the bottom.
- Place cookies in oven for 6-8 minutes. You don't want them to brown. If you're not sure they are done, softly press on one and if it still soft, keep it in for a little longer. They will feel mostly firm when they are done.
- Take them out and let them rest for a minute or two and then place them on a cooling rack or muslin type cooling cloth.
- Allow them to cool completely. If you want to frost them the same day, you can leave them out. If you want to wait a day, store them in an airtight container on the counter.
Ingredients:
- 2 cups powdered sugar
- 3 Tbsp milk
- 1 tsp vanilla
- food coloring
- In a medium bowl, combine powdered sugar, milk and vanilla. You can stir by hand or with a hand mixer. (I've included approximate measurements, but it will vary a little.)
- You will know that it is the right consistency when you scoop some onto a spoon and when you let it fall back into the bowl, it goes in a steady stream, almost like syrup. The flavor is up to you. I like mine not to be overly sweet so I add a little more vanilla so it has more of a flavor.
- If you want to do different colors, get a few small bowls and divide it out, then add the color. When you are adding your food coloring, keep in mind that you may have to add a little more powdered sugar since the amount of food coloring you add will affect the consistency.
- Since this icing/frosting is more on the runny side, I like to use a small spoon to frost the cookies instead of a knife. I scoop a little onto my spoon, pour it in the middle of the cookie and spread outwards, leaving a space between the edge of the cookie and my frosting.
- Add any sprinkles or other cookie decorations I want since it will begin to set fairly quickly--within 2-3 minutes. Make sure to stir up your frosting, as it will probably start to form a thin "crust" on the top, but it's nothing to worry about and should mix right back in.
- Let your cookies sit out and set for about an hour or so before putting them back in a container. If you have to stack them, put a sheet of wax paper or parchment paper between each layer so they don't stick to each other.
- Store them in an airtight container either in the fridge or on the counter for up to a week.
Do you have a go-to cookie recipe when using cookie cutters?






These look so good! We've been making cookies this week and Little is finally big enough to help with the cookie cutting! It has been so much fun! We'll be decorating them ASAP!
ReplyDeleteThese cookies look amazing! I usually use store bought dough but I need to give this a try.
ReplyDeleteI LOVE the expression on your daughter's face, lol! I do have a go-to recipe but I can't remember which one it is, I do know it has a very simple name like yours though, lol. I think it might just be "best sugar cookie recipe", haha!
ReplyDeleteThis is how my mom always made cut out cookies! They are so good! We use to have so much fun decorating cookies together as a family. I’m pinning this one so I can use it when my little guy gets older! Thanks for sharing!
ReplyDeleteOh they're so pretty! I haven't done cut-out cookies on my own yet, but I always do them at my mom's house. This seems like a great recipe! I've never seen one before that you don't have to chill the dough first.
ReplyDelete