Here are a few important tips I discovered:
- You cannot use regular old Sharpies and expect it to stay on the mug. If you want the design to be permanent, you have to use oil-based Sharpies, which are $3-$4 each.
- The type of mug (ceramic, porcelain, stoneware, etc) you use doesn't matter and neither does the color. You can use white, black or any other color you want.
- You need to bake the mugs in the oven and let them cool down.
- I highly recommend hand washing the mugs rather than sticking them in the dishwasher.
If you keep these things in mind when gathering your materials and designing your cool new mug, you will save yourself a lot of time and frustration.
Now for the tutorial...
Supplies needed:
- mug(s)
- oil-based Sharpies, in any color
- rubbing alcohol
- Q-tips and cotton balls
- pencil and paper (optional)
- masking tape (optional)
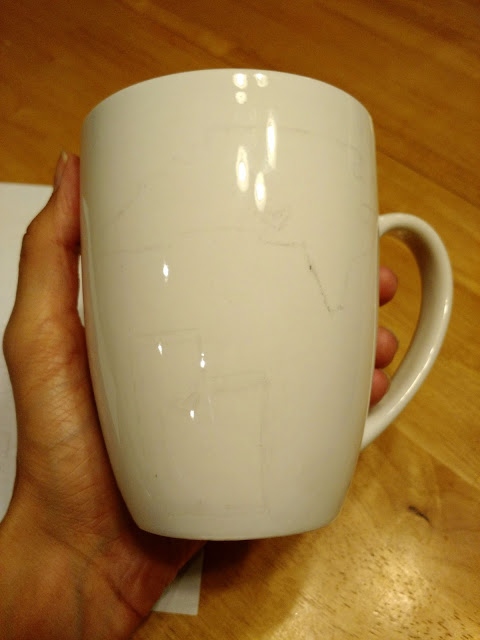
Then, you will need to lightly sketch out your design/words. I pulled out a piece of paper to practice on first so I could get my design and the spacing the way I wanted.
After it is how you want, you transfer the design to the mug. I recommend using a pencil since it's easy to write over with the Sharpie and will rub off with your finger or a Q-tip. You can also use the masking tape to help you write straight lines, create geometric shapes, etc.
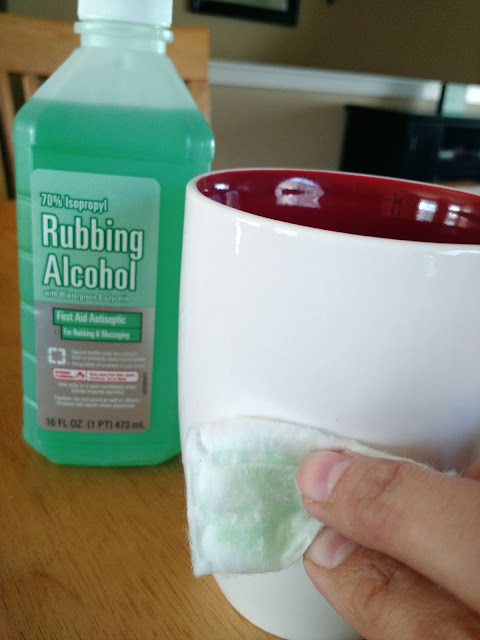
If you make a mistake, just grab your rubbing alcohol and a Q-tip or cotton ball (depending on the size of the mistake) and wipe it off. Good as new! I included an example so you could see that it really does work.

Once your mug is decorated to your liking, clean off any smudges with the rubbing alcohol and set it somewhere safe and dry for 72 hours. That's right. Wait 3 days before baking your mug. This allows the paint to set.
After the 72 hours have passed, put the mug in the cold oven at 425 degrees for one hour. (I put my mug on a small pan so I didn't have to worry about it falling over.) At the end of one hour turn off the oven, leave the mug in the oven to cool completely.
The reason this step is important is because when you allow the mug to heat up gradually with the oven, you will avoid cracking. A good time to do this would be in the evening so that you can just let the mug cool overnight and not worry if you're pulling it out too soon.
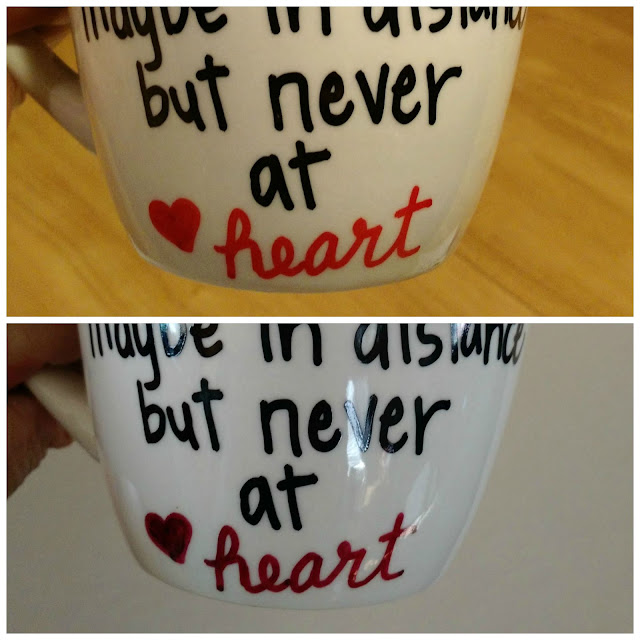
After baking my mug, I noticed that the red color came out a little darker than before. This worked out great for me since it matched the inside of the mug. I would expect that most, if not all, colors will come out a little darker after the mug has been baked so take that into account when you are choosing your color.
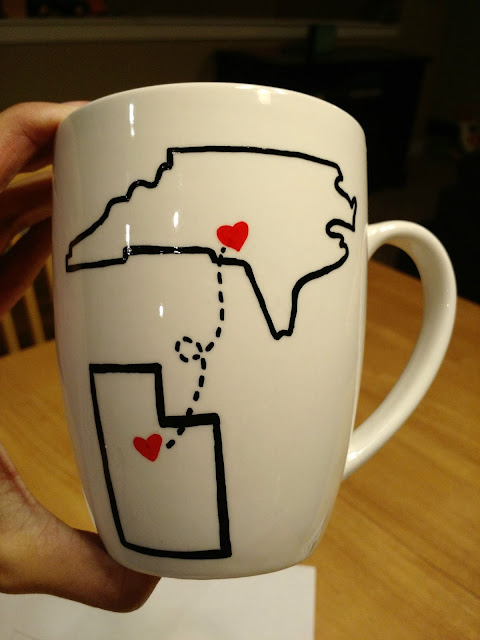
I love how my mug came out! Actually, it's not my mug anymore. I sent it off as a birthday gift to a dear friend who lives far away in North Carolina. So now it has a new home and I have an excuse to make another fun mug!
These mugs are really the way to go if you're looking for a simple, cute, inexpensive gift. You could give these as wedding gifts, bridesmaid gifts, house warming gifts, birthday gifts, anniversary gifts, Christmas gifts...the list goes on and on!
*Note: These mugs need to be hand-washed. Do not put them in the dishwasher, or you risk damaging your design.
Have you made Sharpie mugs before? Do you have any other tips that I didn't include?






Cool! I can't wait to try this!
ReplyDeleteLet me know how it turns out for you!
DeleteI have had Sharpie Mugs on my to-do list forever! I love the States mug.
ReplyDeleteSo cute!! I love it the states idea!! I wish I had that nice of handwriting.
ReplyDelete