This post contains affiliate links which means if you click on a link and make a purchase, I will receive a small commission at no additional cost to you. Thank you for your support!
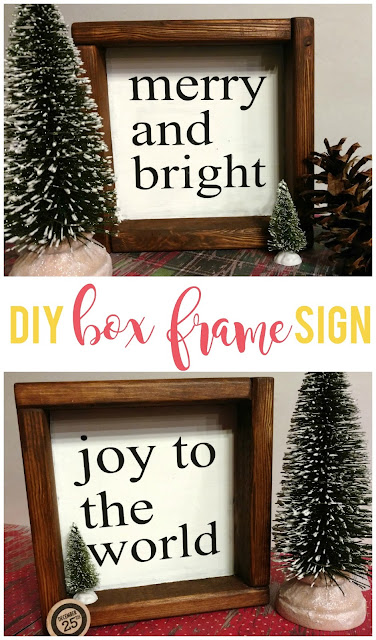
Here's what you'll need to make your own: *supplies listed make one box frame sign*
- 3/4" pine, cut into four 7 1/4" pieces
- 8" x 8" backing (can use MDF or underlayment cut to size)
- 1 1/2" finishing nails
- hammer
- wood glue
- sand paper (I used 150 grit (medium) and 80 grit (course) )
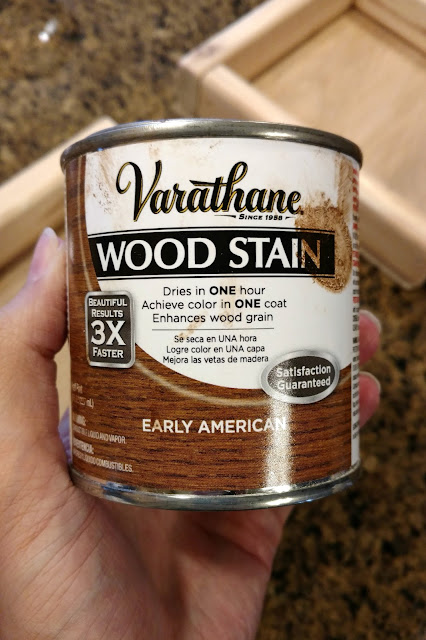
- wood stain (I used the brand Varathane in Early American)
- 1" natural bristle paintbrush
- foam brushes
- old t-shirt
- black acrylic paint
- white acrylic paint
- vinyl, cut in desired phrase or image
- weeding tool (optional, but highly recommended)
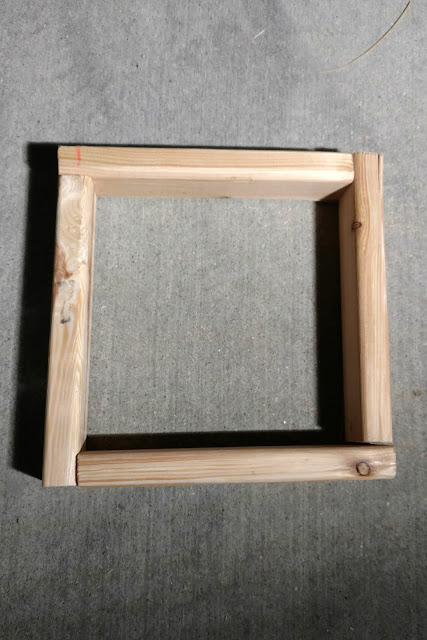
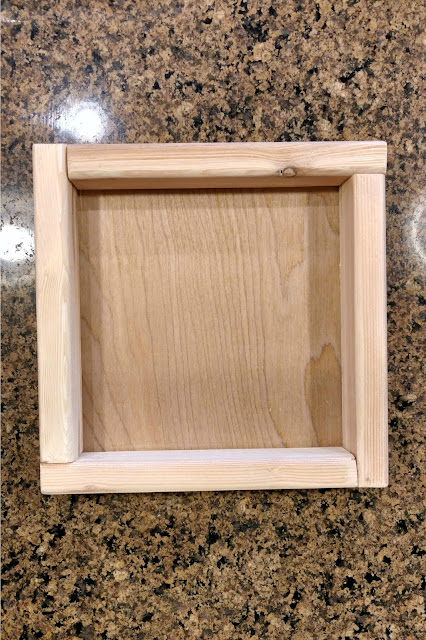
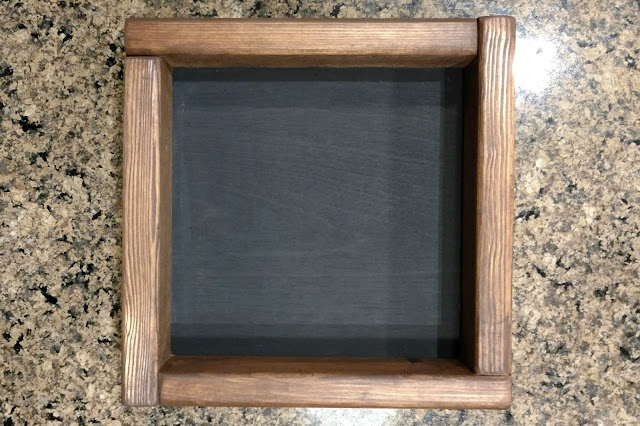
First, cut your 3/4" pine board into four 7 1/4" pieces. Then cut your MDF/underlayment into an 8x8 inch square. Arrange the 3/4" pine pieces in a square shape, as shown below, and hammer one finishing nail into each side.
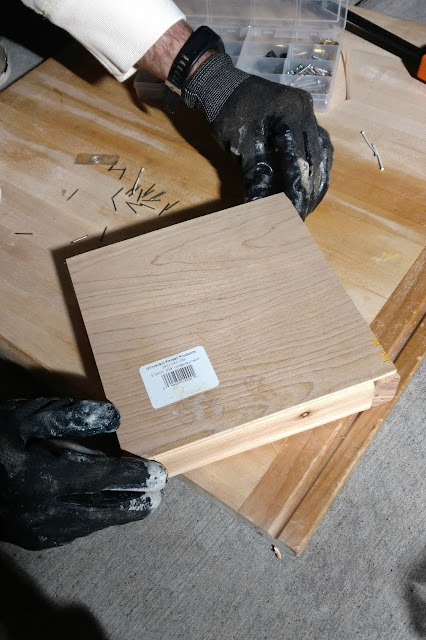
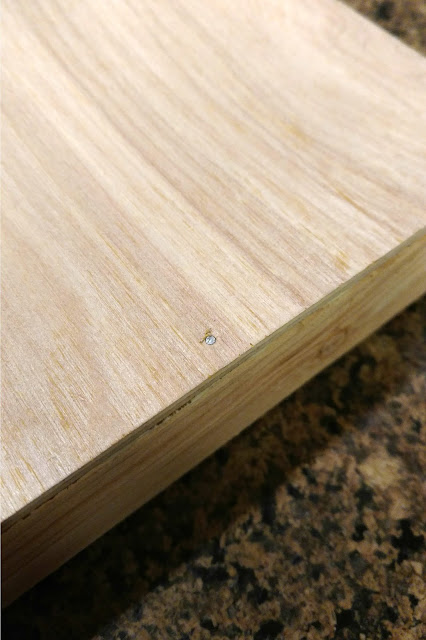
Squeeze some wood glue onto each side of the frame and place the 8x8 piece on top, making sure to center it. Press firmly for about 30 seconds, put four more finishing nails onto the back edges to secure and let dry.
Use the 80 grit sand paper (or other course grit) to quickly sand all sides and edges (except the back), paying close attention to the corners. Then use the 150 grit paper to smooth it out further. Wipe down with a slightly damp cloth to get rid of the dust.
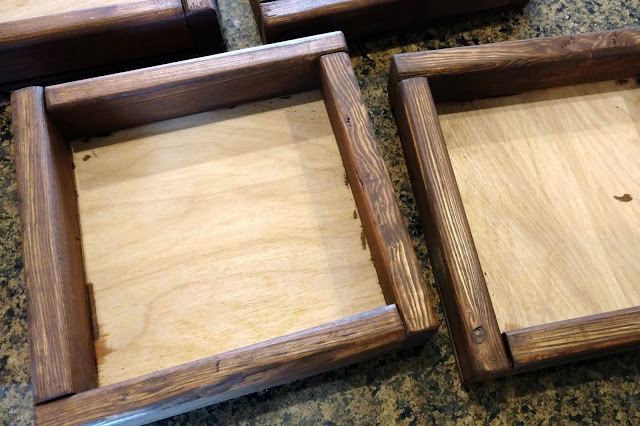
Open your stain and begin covering all sides of the frame. You don't have to use a lot to get good coverage. Once you're finished, you can either let it air dry (about an hour or so) or you can use your old t-shirt and gently wipe off the excess stain then let dry. (I explain more about this method in my post on how to stain wood.)
*Note: If you don't want to use stain for the frame, you could also paint it another color and distress it using my petroleum jelly method found here.
While the stain is drying, cut your vinyl out in the desired phrase or image. I've used all Christmas phrases, but the beauty of these frames is that they are completely customizable. The inside of the frame is about 6 1/4" x 6 1/4" so I just made a square in my Silhouette design software program and then typed the text I wanted and cut it out with my Silhouette Cameo. I used a basic Times New Roman font but stretched it out a little and decreased the spacing to get the right look. Remove the vinyl from the cutting mat and weed it out so you are just left with the words/image and then transfer to your transfer tape.
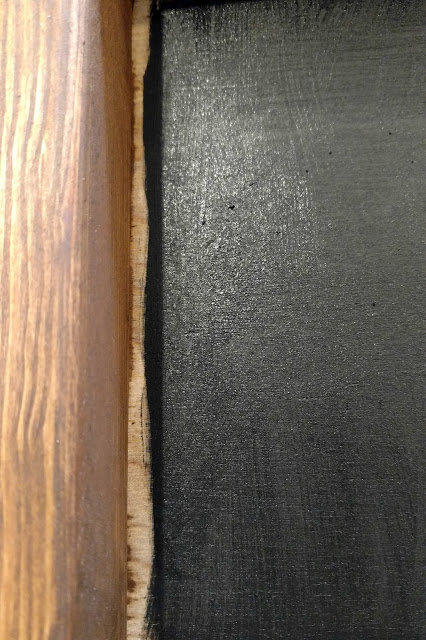
Once the stain is dry, grab your foam brush and paint the inside back of the frame black and let dry. I had to use a smaller paintbrush to get under the rounded edges.
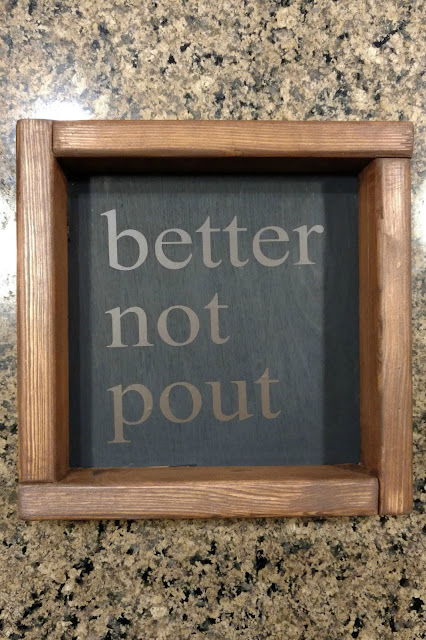
Center the words/image on the inside back of the frame and press all letters/images down firmly. (I just use a credit card to do this.) Peel off the transfer tape.
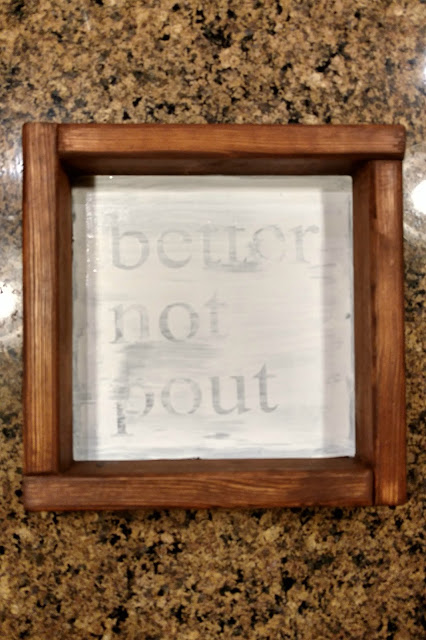
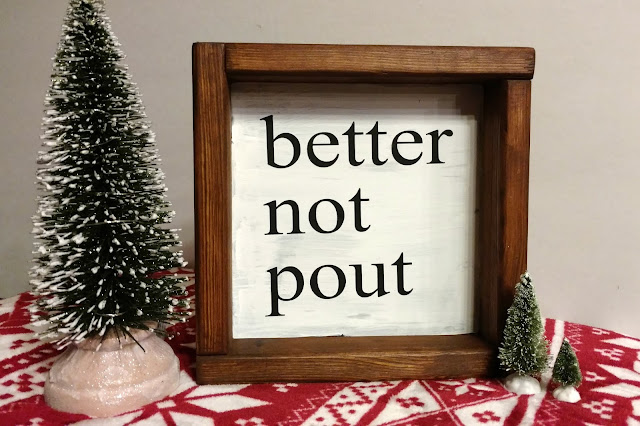
Paint over the top of the vinyl with white acrylic paint and let dry for about 5-7 minutes. Then use your weeding tool to grab onto the vinyl, lift it up and pull it off. By letting it dry a little before doing this, you'll end up with cleaner lines on your words/image. Let it finish drying and then you are ready to display your new box frame sign or gift it to the lucky recipient! *wink*
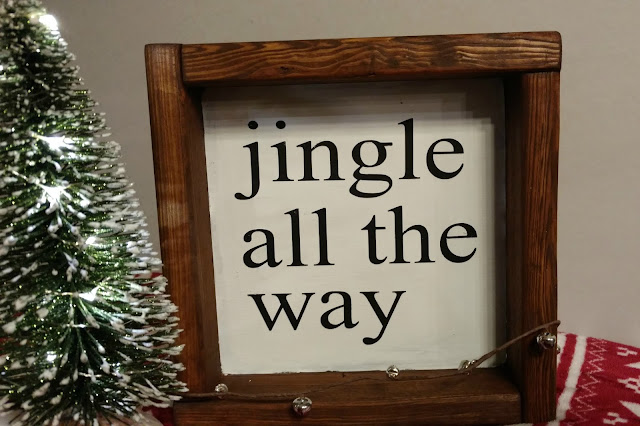
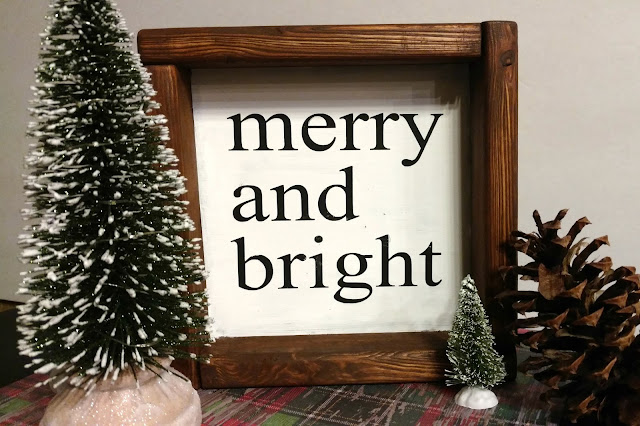
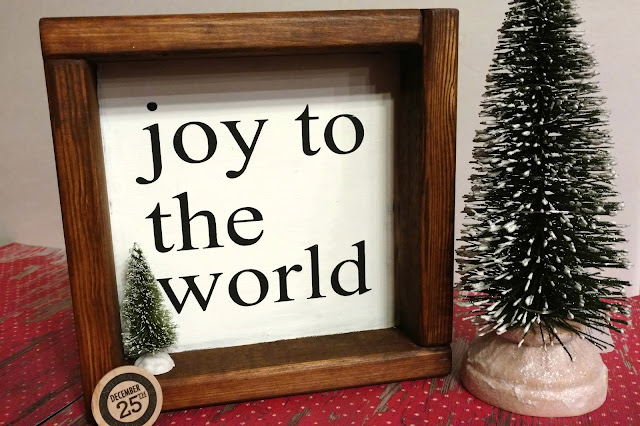
Aren't these cute? I'm trying to decide which one to keep and which ones to give away but it's so hard! Which one is your favorite?
With it being the second Wednesday of the month, that also means that it's time for the Inspire My Creativity link party! Some of my blogging friends and I are sharing DIY GIFT IDEAS for the holidays (or any time of year) with you and I'd love it if you look through and see what kind of fun things they've come up. Also, feel free to add to the link up if you have something that fits the theme!
Shani | Sunshine & Munchkins
Anna | Practical and Pretty
Ali | Home Crafts by Ali
Cathy | A Boy and His Mom
Emy | Semigloss Design
Missy | Gypsy Magpie
Christine | Swordfights & Starry Nights
Kim | Creigh-ations
Candice | She's Crafty
Lauren | A Life of Love and Joy
Sarah | Making Joy & Pretty Things
Next month our theme is SNOWFLAKES.
Looking for more gift ideas? Check out the ones below:
Gift Guide for Men
Gift Guide for Fathers
Gift Guide for Women
Gift Guide for Parents/Grandparents
Gift Guide for Toddlers and Preschoolers




These are adorable Shani! I'd love to try making a few of these this year!
ReplyDeleteThese are so cute! Those frames look so easy to make too!
ReplyDeleteThese turned out so well! And you make them look so simple! I love them!
ReplyDeleteThis is amazing! It is so stylish and easy to make. I am in love with this idea!
ReplyDeleteWow I am so impressed. What a cute idea. Can't believe you did all that for under $!. I like the Joy To The World and Merry and Bright. Great job!
ReplyDeleteThese are so cute! And you can totally make them for any time of year- I love the versatility!
ReplyDeleteSuper cute, what a great gift idea!
ReplyDeleteI love these! They would fit in with anyone's décor, which really does make them perfect gifts!
ReplyDeleteThese look awesome! I love them! I love DIY posts! Thanks for sharing!
ReplyDeleteOnce Upon a Cheerio
I have a free pattern for a crochet scarf published on my blog recently! It would make for a great DIY gift idea!
ReplyDeleteThose are really cute! I need to add these frames to my to do list!!
ReplyDeleteShani, I just love the way these turned out! And your frames look way easier than the ones that I do!
ReplyDeleteYour husband is such a great guy to help you with these 😁
ReplyDeleteThese are wonderful! I love how they turned out! This is a great gift idea for so many different people. ❤️
ReplyDeleteThese are adorable! I could see a row of these up on my mantel for Christmas!
ReplyDeleteThese are SO cute!! I'm totally making some for gifts!!
ReplyDeleteOh my goodness!! This is so cute!!!!
ReplyDeleteThese are so cute! This is such a great idea!
ReplyDeleteLove this holiday craft. Looks totally doable and adorable.
ReplyDeleteSo cute! Thank you for sharing how to make them.
ReplyDeleteGirlfriend, you need a brad nailer! My favorite runs on the same battery as my drill. It is a life changer for projects like this! P.S. I could totally use that Better Not Pout sign at my house tonight! Haha! I keep busting into song singing "You better watch out!..." hoping it will change some attitudes around here. ;)
ReplyDelete