This post contains affiliate links which means if you click on a link and make a purchase, I will receive a small commission at no additional cost to you. Thank you for your support!
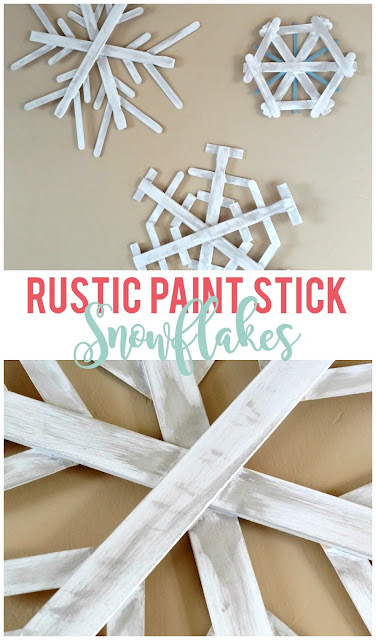
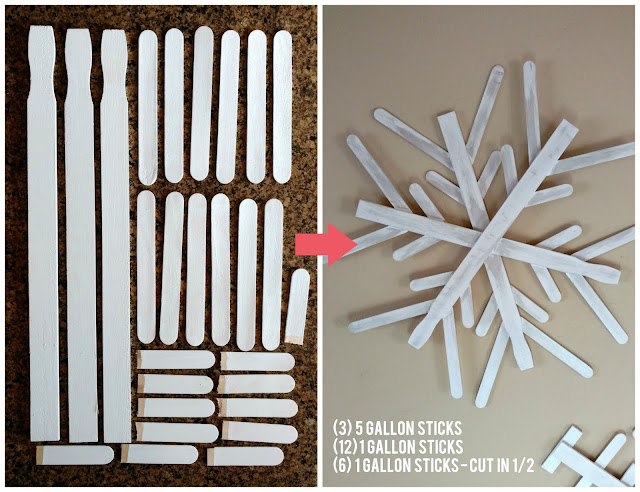
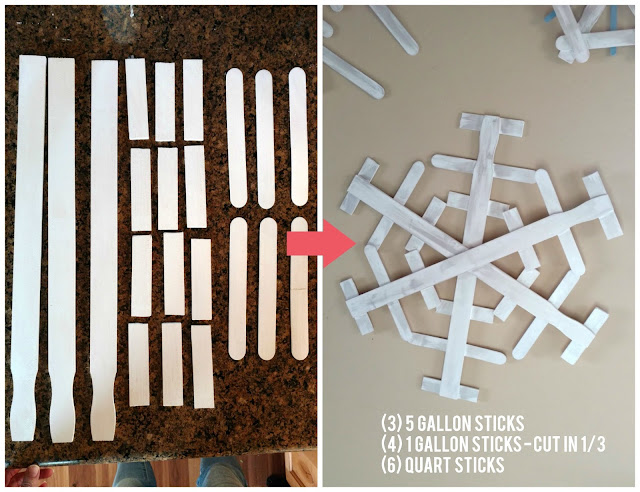
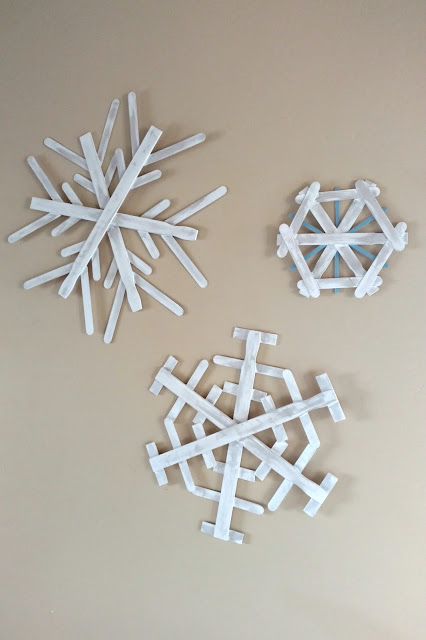
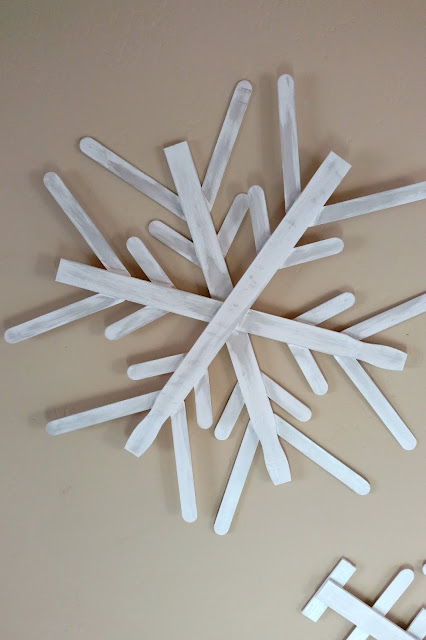
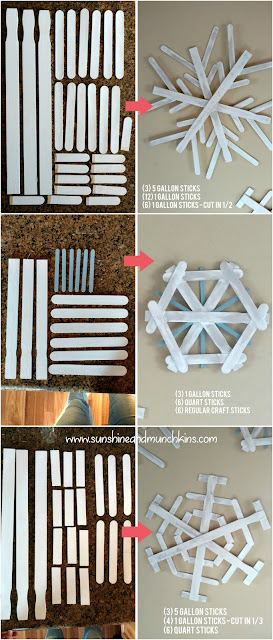
I made two different sizes of snowflakes using four different lengths of paint sticks. I picked up everything I needed for less than $5 and I still have a few sticks left over to make more snowflakes or save them for another craft.
Here are the supplies you'll need to make your own:
- Paint sticks (all sizes, can usually buy them in packs from a hardware store like Home Depot)
- Paint (I used chalk paint in white, and acrylic in silver and metallic light blue)
- foam brushes
- glue gun
- ruler or measuring tape
- pencil
- razor blade or small saw (optional, but recommended)
- sandpaper
- Command strips (for hanging)
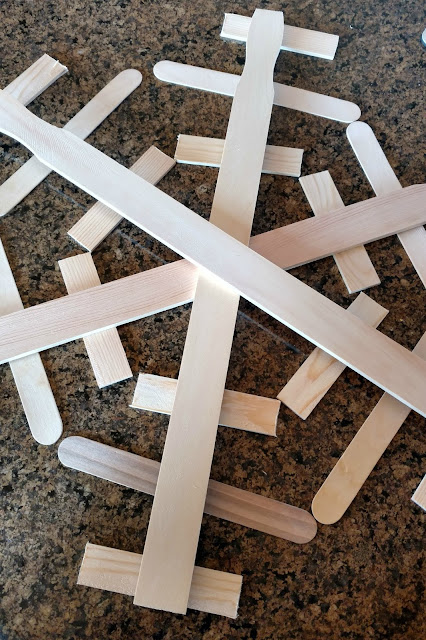
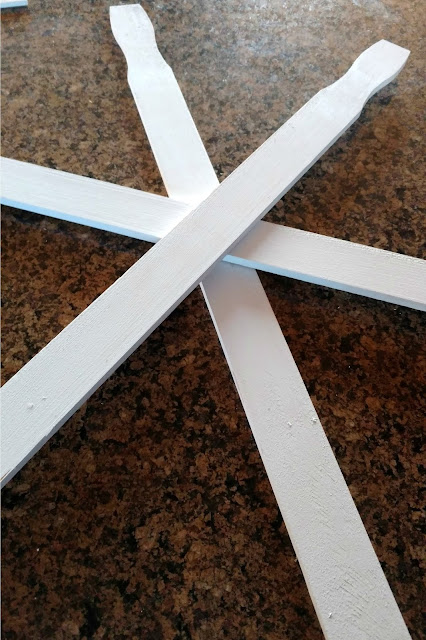
First, I suggest figuring out what kind of snowflake design you want to do. (To get some ideas, you can easily hop on the internet and search for images of snowflakes and then simplify the design from there.) I got all my snowflake designs put together (minus gluing) so I could see how they all looked as a group. I took pictures of each snowflake so I could remember what they looked like after all the pieces were painted and I needed to put them back together.
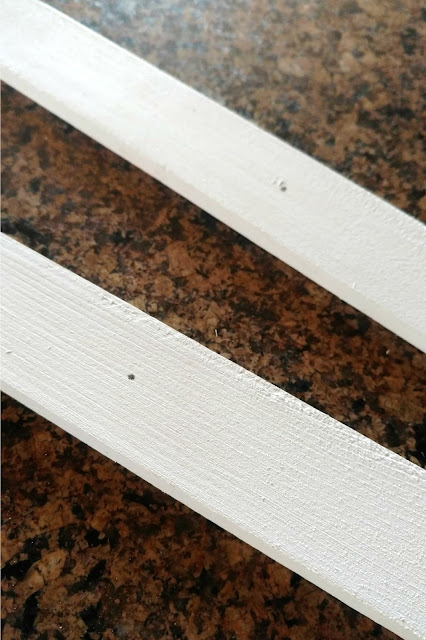
Next, start with one set of paint sticks (snowflake) and paint the front and sides. If you had to cut some down to size, you may need to smooth the edges with some course grit sand paper before painting them. Once all the sticks from one snowflake are painted set them aside to dry and then start on the next group, making sure to keep each set of snowflake pieces separate from each other.
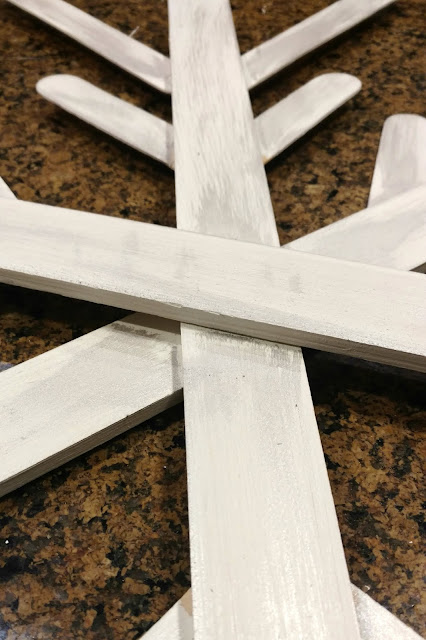
After everything is dry, you can start assembling. I used a ruler to mark the center of each stick I used for the main part of my snowflake so I knew where to put the glue.
Press firmly after you glue down each piece. If a little glue seeps out, you can scrape at it with your fingernail before it completely dries to get it off. One of the reasons I prefer a low temp glue gun is that I don't get burnt if I need to touch the glue after it's been put on my project.
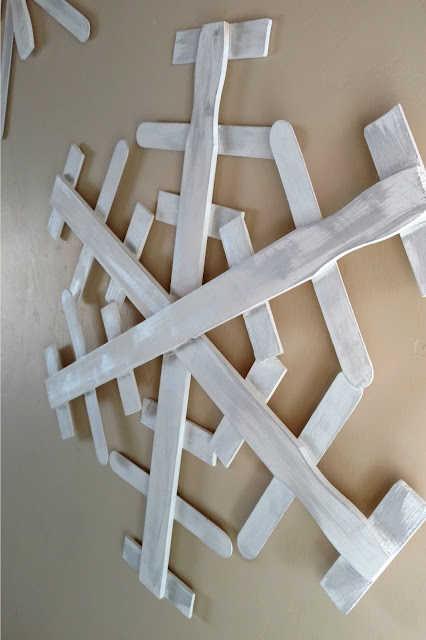
Then, turn over the main snowflake piece and glue the pieces onto the back side. I used a ruler again for this part so that I could get the other pieces in as close to the same place as possible on each stick.
Once all your snowflakes are assembled, you can either hang them or embellish them a bit. I decided to use some silver acrylic paint and dry brushed each of my pieces. This actually accomplished two things: it gave a slightly antiqued/weathered look and a little bit of shimmer. Another option would be to use some sandpaper to get that more rustic look.
To hang my snowflakes, I used some Command strips and stuck them straight to my wall. This is the perfect solution for those temporary or seasonal pieces of decor you want to put up. We have this big space on our wall that was looking a little sad and lonely and putting the snowflakes there worked out perfectly. (Although I'm thinking I'd like to add one more smaller snowflake to balance it all out.)
What do you think? I love how they turned out!
With it being the second Wednesday of the month, that means it's time for the Inspire My Creativity link up that I host each month! This month's theme of SNOWFLAKES was a lot of fun and I'd love for you to check out what the other hosts have shared as well. Also, please feel free to link up as well if you have a post that fits with the theme!
Shani | Sunshine & Munchkins
Anna | Practical and Pretty
Emy | Semigloss Design
Missy | Gypsy Magpie
Christine | Swordfights & Starry Nights
Candice | She's Crafty
Meg | The Kusi Life
Be sure to come back and join us next month for an all new Inspire My Creativity link up!




These are darling Shani! What a cute decor idea that can be used all winter!!
ReplyDeleteThese are so much fun! And so simple. Your tutorial is perfect to know just how many of each little stick to have. I agree that they are great to be able to keep up all winter long!
ReplyDeleteI love how these turned out- I want to make some!
ReplyDeleteWhat a fabulous idea for a simple material! I know my kids will love it
ReplyDeleteLove this, Shani! Pinned & shared!
ReplyDeleteSuch a clever idea to use stir sticks! Your snowflakes are so cute!
ReplyDeleteI love snowflakes so much! This is such a cute idea!
ReplyDeleteOh my goodness this idea is so cute. Im going to try making these with my kids.
ReplyDeleteThis is such a cute idea! I love when we can make adorable holiday decor with inexpensive materials!
ReplyDeleteThis is so cute!! I wish I was crafty enough to make these look as good as yours!!
ReplyDeleteThese are so cute! Perfect to nestle in the branches of the tree!!
ReplyDeleteI am not the best at DIY and being creative but this is great as I can get my hubby and little one to help. Sheri
ReplyDeleteThis is such a cute and easy DIY decor for winters. I am definitely going to try these! :)
ReplyDeleteThese are so cute! Much more simple than it looks! Going to pin this for later (:
ReplyDeleteVery fun! I love that these snowflakes can be created in a bunch of different ways using the same supplies. And Command Strips are my best friend. LOVE those things!
ReplyDeleteThis is such a cute idea. I bet my toddler would love helping me with this too!
ReplyDeleteWhat a darling idea! I love how these turned out! I love that you used paint sticks - so clever!
ReplyDelete