This post contains affiliate links which means if you click on a link and make a purchase, I will receive a small commission at no additional cost to you. Thank you for your support!
To be completely honest, I didn't start making this until last night. I was feeling totally uninspired by the prompt for a new link party I'm co-hosting called A Year In Color with three other awesome bloggers. Each month, we have a color that we base our post around and this month is RED.
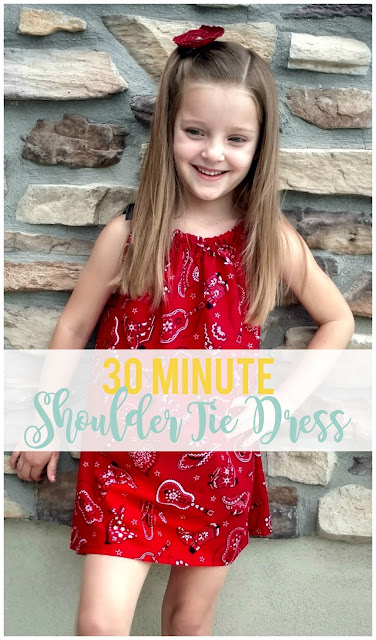
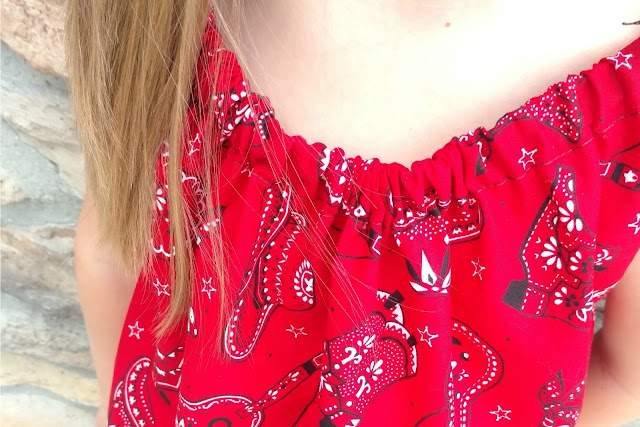
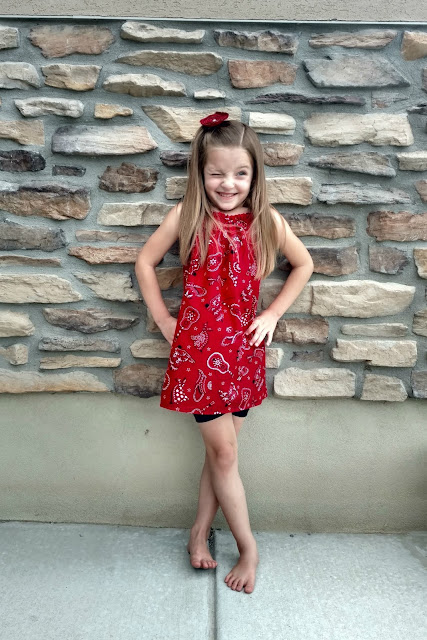
You'd think that with the 4th of July this month that it would be plenty easy to create something using this color but my brain just wasn't having it. So I did what I do when I need to get inspired and I started looking through my craft supplies. I found some fun cowboy/western style material that I bought who knows how long ago and it was mostly red. I didn't have enough to make something big, but I had about 1/2 yard which was plenty big to make something fun for my daughter. Obviously, you could change the color and pattern to anything you wanted to fit your daughter's likes, although you may need more than 1/2 yard if she's taller than about 45".
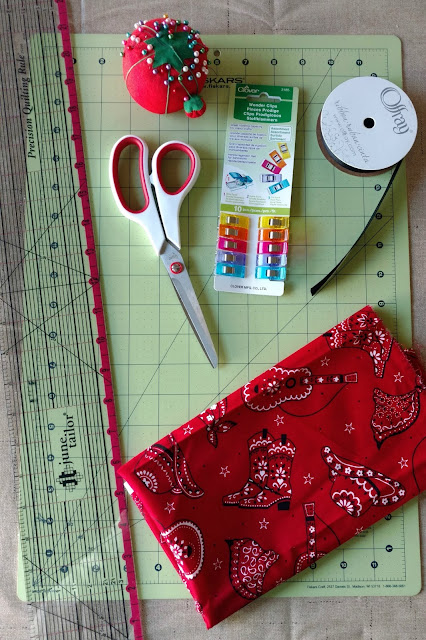
To make the dress, you'll need:
- 1/2 yard fabric (at least 42" wide)
- scissors or rotary cutter
- cutting mat
- 5/8" ribbon (in coordinating color)
- thread (in coordinating color)
- straight pins or wonder clips
- ruler
- sewing machine (mine is similar to this one)
- iron
- ironing board
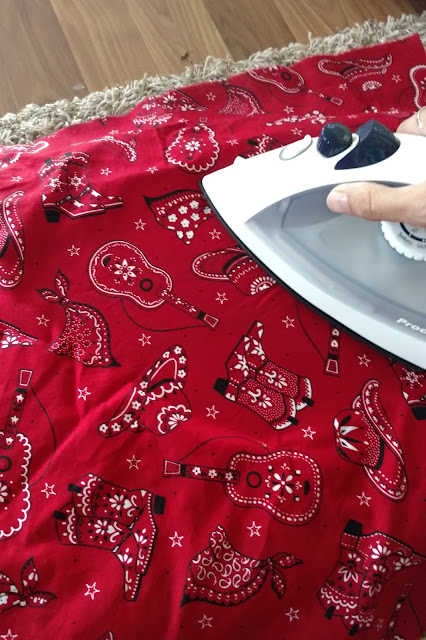
First, iron your fabric so it is flat and smooth. This makes it easier to line up edges and cut straight lines. Lay out your fabric and then fold it in half, lining up the top and bottom edges. Measure the shortest width and then trim off any remaining fabric on the sides. Cut the fabric in half so you have two equal pieces. When I did this, each piece was 18 1/2" x 21".
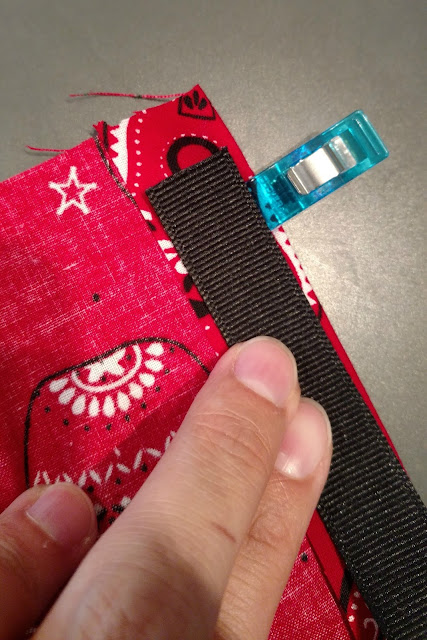
Put right sides together (the sides that have the pattern on it) so the pieces of fabric are lined up. Measure down the right and left sides 6" plus the width of the ribbon. My ribbon was 5/8" wide so I measured down 6" + 5/8" = 6 5/8". Mark with two pins. This will make the arm holes.
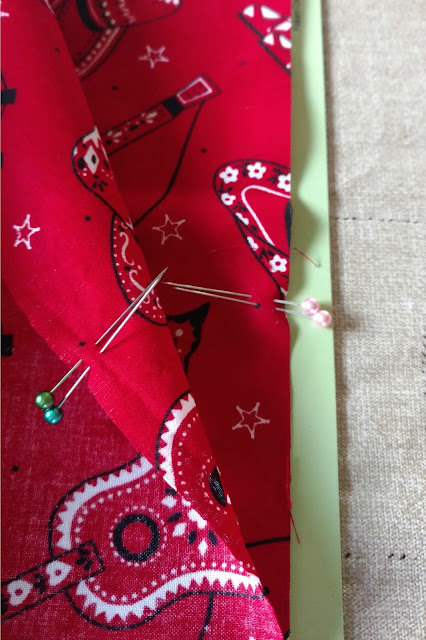
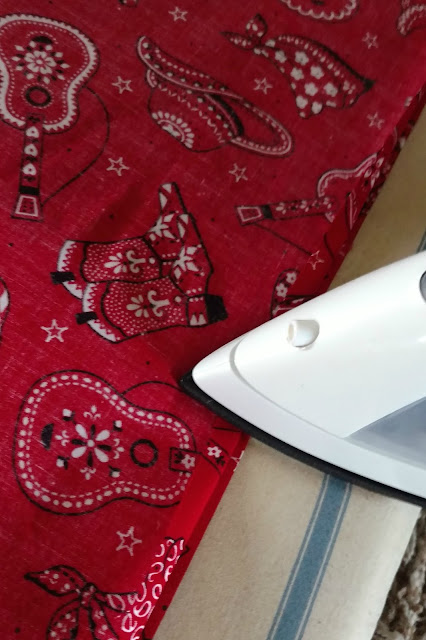
At the bottom of your two pieces of fabric, fold each piece of fabric up about 1/4" and iron it to create a seam. This will make it easier to sew the hem of the dress because you won't have to worry about holding the fabric down or using a bunch of pins.
Secure the two pieces of fabric together on the right and left side using pins or wonder clips.
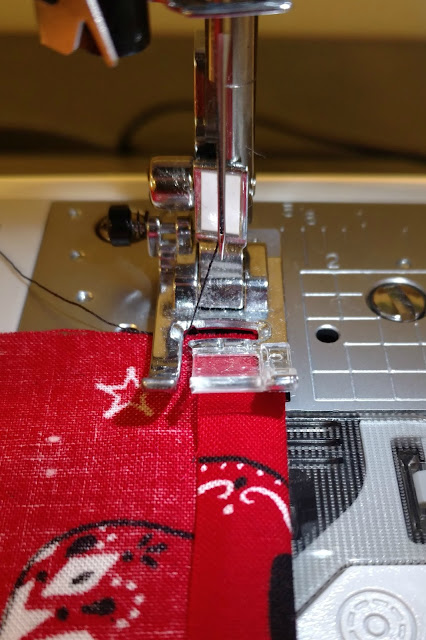
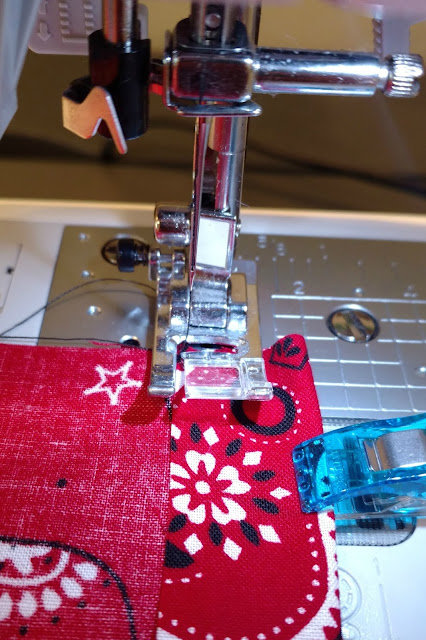
Turn on your sewing machine and adjust the needle to the middle position. Line up the folded edge of fabric on the right side of your sewing foot and sew a straight line down to create the hem. Repeat on the other piece of fabric.
Next, sew a 1/4" seam allowance on the right and left side, making sure to back stitch at the beginning and again right before the two pins that mark the arm holes.
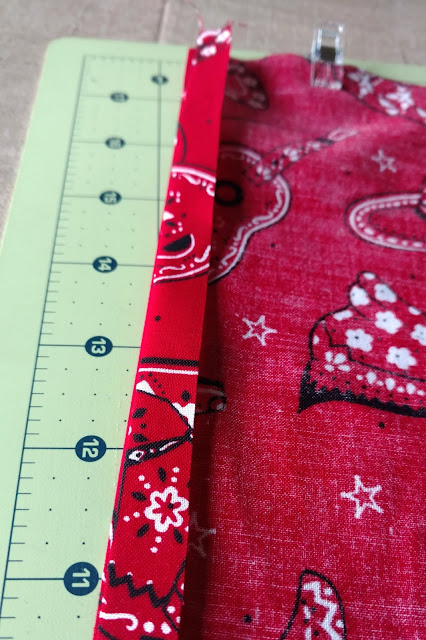
To make the casing for the ribbon, grab a ruler and your ribbon and fold down one of the pieces of fabric at the top, making sure it's big enough for the ribbon to slide through. I made mine about 1", which included an 1/8" seam allowance. If you still have your iron handy, you can iron down the top, or you can pin it to hold it in place. Repeat on the other piece of fabric at the top so it matches the opposite side.
Move your needle to the far left position and line up your fabric with the raw edge of fabric just barely past the needle and under the foot. Sew a straight line down, remembering to back stitch at the beginning and end. Repeat on the other side.
Now you can turn the whole thing right side out.
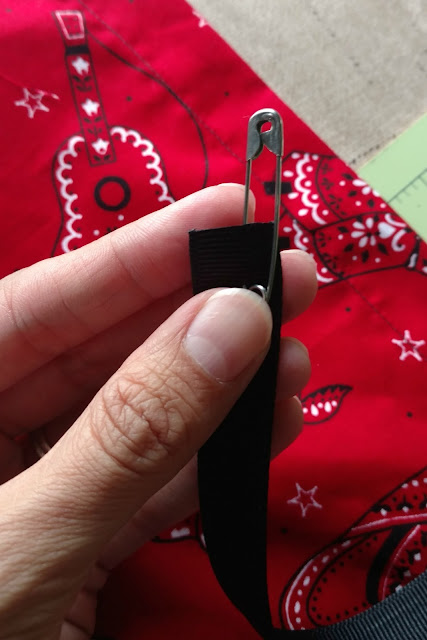
Grab your ribbon and a safety pin. Slide the pin through the ribbon and then push it through the casing on one side. At this point, don't cut the ribbon to length because it may vary a little for each child. I had my daughter slip the dress on while I bunched it up along the length of ribbon. Then I measured (read: eyeballed) the amount I'd need to tie the front and back together. Pay attention to how tight it is under their arms. You don't want to cut the ribbon too short and have the armholes be digging into their armpit after you tie it. Ultimately, I cut the ribbon to 30" and then cut the second piece the same length and threaded it through the other casing. Singe the ends with a match or lighter to prevent fraying.
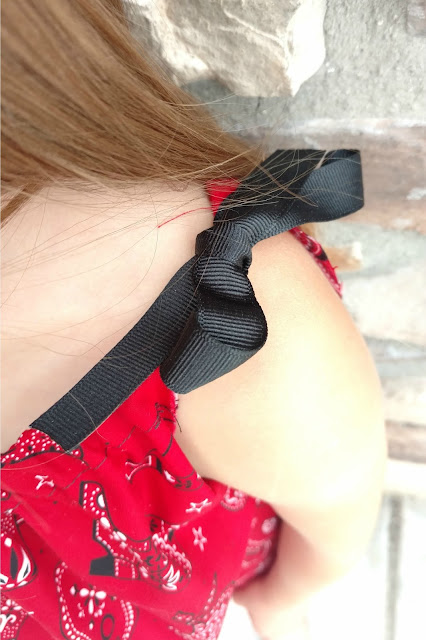
At this point, it is ready to be put on! The first time is the trickiest because it's not tied together. Just loosely tie one side while you get the other side adjusted to the right length. Then you can tie the other one. And you're done!
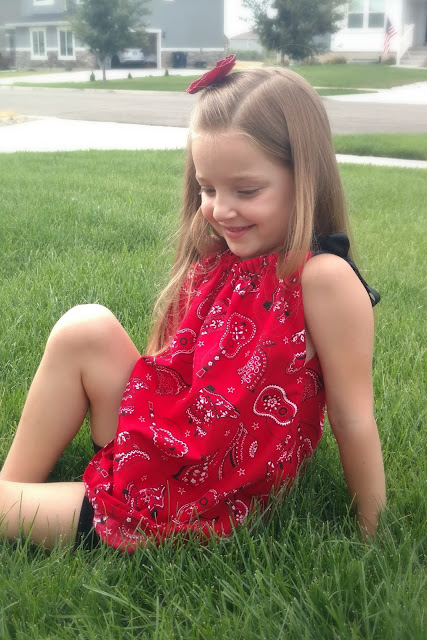
While my daughter can wear this as a dress, it should also be able to be worn as a top as she grows and she can wear it with leggings or even a short sleeve shirt when it's cooler. It's going to be the perfect little dress for her to wear to the rodeo this weekend and it just looks so darn cute on her!
As I mentioned above, I am co-hosting A Year of Color, where each month's post is inspired by a specific color which we post about on the third Friday. This month, I'd love to see you link up any of your posts that have to do with the color RED.
Next month, our colors are NEON!






Oh my goodness! This is the cutest dress, I love it!! I so need to get a sewing machine!
ReplyDeleteI love projects like this with a quick payoff! Pinned!
ReplyDeleteThis is super cute! I'm so impressed!
ReplyDeleteOh my goodness! You made this?!? Wow, I love it!
ReplyDeleteI love this! I always love diy fashion! I'd copy this if I had a daughter! Too cute!
ReplyDeleteI seriously can't believe how quickly you made that dress, she looks so adorable in it! Great job with the color prompt Shani! ;)
ReplyDeleteWhat a cute dress! I love how easy it and the color! I will need to try and make some of these for my daughter. Love them! Pinning for later.
ReplyDeleteAdorable! And I might actually be able to make this!!
ReplyDeleteHow cute is that??
ReplyDelete