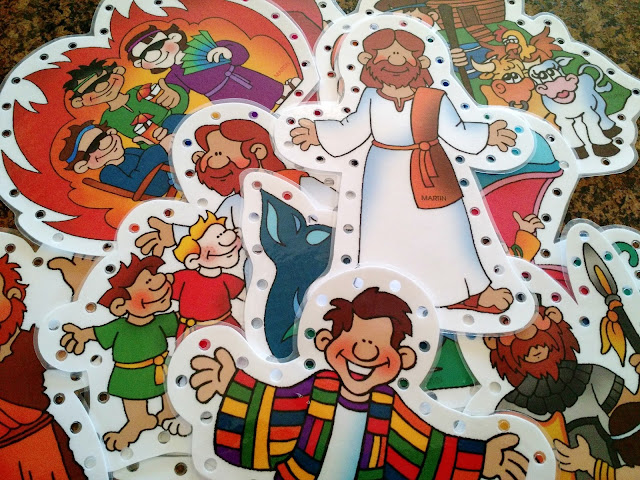
Recently I was at the store and spotted some darling animal lacing cards that I thought would be perfect to throw in the church bag to shake things up a bit. The next Sunday, they were a hit and I decided to see if I could make some lacing cards that were more church themed. (Of course this same tutorial applies for any theme you want.)
To make your own lacing cards, follow these steps:
First you'll need to find some clip art for the images you want. I searched for 'free bible stories clip art' and came up with a ton of options. One image caught my eye and took me to an entire website of free clip art in almost any category you could imagine: nature, language arts, science, sports, fairy tales and the list goes on. (Keep in mind that this site allows free use of its images as long as you don't try and profit from it.)
Save the image to your computer by right clicking and selecting 'save image as...'. This will allow you to choose where you want to save the file.
Once you have all your images, place the images in a word file and resize the images and adjust the margins if desired. I wanted to fit two images per 8.5x11 page and they each ended up being between 4-6" wide/tall.
Print your images on cardstock. (I used white.)
Use a pencil to trace a border around the image, about 1/2". Make sure you're not trying to be too detailed. Cut out the images and erase any remaining pencil marks.
Punch holes around the image, spacing every 1/2-1". This is totally a personal preference. Just make sure not to get too close to the edge of your border. Mine varied a little per card. You can use a regular hole punch to make the holes. (I have a Crop-A-Dile, which allows me to punch 3/16" or 1/8" holes.) This step gave my forearm and hand a major workout! I made a total of 12 lacing cards and each card had at least 30 holes. You do the math.
Laminate each lacing card. I did a hard laminate which is stiffer and stronger so combined with the cardstock, the cards should be pretty durable. I don't have a laminater, so I took my cards to a local genealogy store that does it for pretty inexpensive (I paid $4 for 7ft).
Cut a border around each card, making sure not to get too close to the edge. Repunch the holes on each card. (*Note: You could wait to punch the holes until this step instead of doing it twice but I wanted to make it a little easier on myself since I'd have to punch through hard laminate and cardstock if I had waited. In addition, by using my Crop-A-Dile, I was actually able to punch a slightly smaller hole within each original hole, preserving the strength of the lamination around each original hole. Overkill? Maybe. But I'd like these to last as long as possible.)
For the lacing, I found a pack of 8 pairs of shoelaces at my local dollar store (Dollar Tree). Not quite enough for each card to have it's own, but I don't expect all 12 to be used at the same time. *wink*
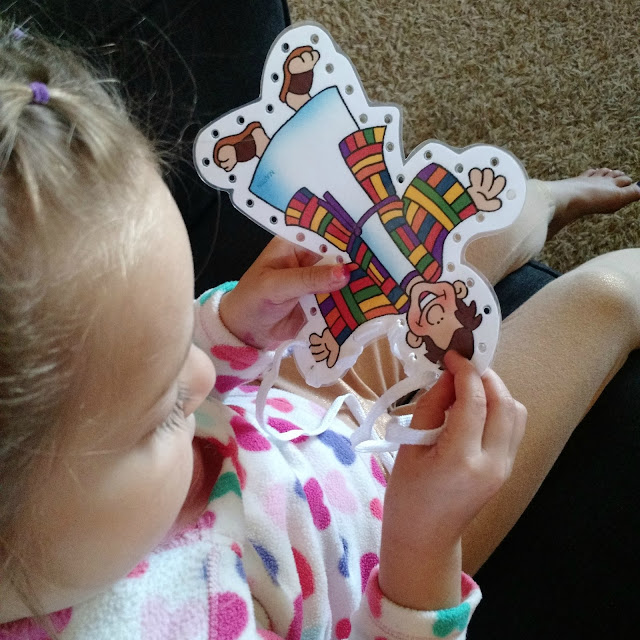
My daughter was so excited to try out the new lacing cards! I wasn't even done punching the first one (the second time around) and she was already pulling out the laces and waiting for the card when I finished. She laced three or four of them before I told her I needed to put them away until Sunday.
As for me, I really love the way they turned out! The clip art is darling and overall it was a fairly inexpensive project, costing me less than $10 (if you include the cost of paper and ink which I already had on hand). These lacing cards would make a great birthday gift, stocking stuffer, church bag activity, for long car trips or something to keep in your diaper bag while you're out and about.
I hope you have fun making your own!


These are darling! Add a little story to go with whatever cards and art you use and it becomes a great teaching tool as well!
ReplyDeleteMost definitely!
DeleteSuch a good idea!! I'll have to make a few of these for Abe!
ReplyDeleteThanks! I hope he likes them as much as my kids do!
Delete