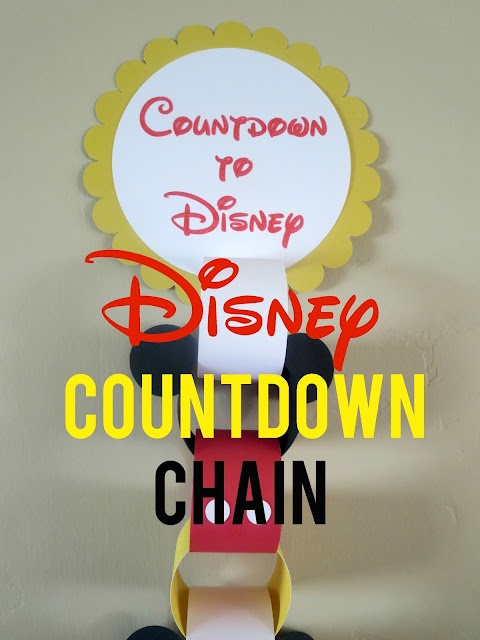
Since this was a somewhat last minute trip, I didn't have as much time to build my kids (mostly my daughter) up to it as much as I would have liked. Like most kids her age--she was 3 at the time--she doesn't fully understand the passage of time. To help her with this (and to save my sanity!), I made a simple Disney countdown chain. We've used countdown chains before to help her learn how time passes (see this post here), so I knew that making one again would be a successful way to count down to our trip.
Here is what you'll need:
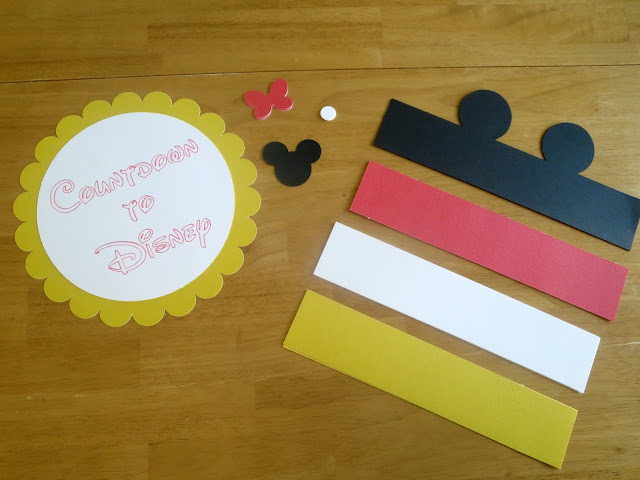
- red, yellow, white and black paper (I used cardstock, but you could use lighter weight paper.)
- scissors or paper trimmer
- stapler
- double-sided tape or scrapbook adhesive squares
- printer or Silhouette machine
- Disney stickers, die cuts, etc (optional)
*If you do not have a Silhouette machine, just open up your document program, choose a shape (optional) and type the text in. Then print it out and cut out the shape.
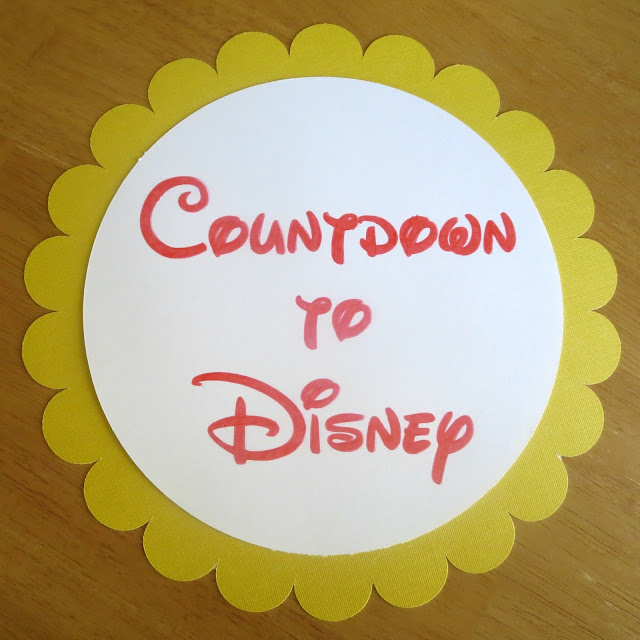
Then I pulled out my cardstock. I decided to stick with classic Disney/Mickey Mouse colors of red, yellow, white and black. (You could easily make a Minnie Mouse countdown by using pink, purple, white and black and attaching bows to the mouse chains.) I let my machine do the cutting and writing for me, but decided to color the words in to make them stand out better. (If you wanted to add Disney stickers or die-cuts to this part, you definitely could.)
For the chain, simply cut strips of paper out in each of the four colors. The number of strips you'll need will be determined by how long your family's countdown is. I only needed three strips of each color for a total of 12 strips. Each of my strips is 2"x10".
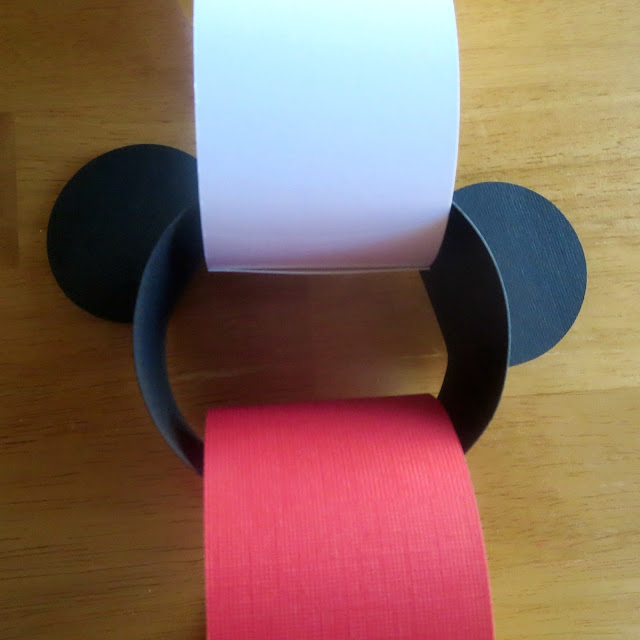
The only difference will be when you cut out the black strips. If you want to have the "ears", you will need to do one of two things:
- If you're using a Silhouette: Grab the Silhouette file here, then save and open it in your Silhouette Studio. You can then resize anything you need to before sending it to be cut.
- If you are cutting by hand:
- Option 1: Grab the PDF file here, then save and open it. You could put the paper into your printer (once it's cut down to size) and then cut out the pieces using scissors or a paper trimmer.
- Option 2: You could print out the document, cut the shape out and trace it onto your paper and cut out the strips using scissors or a paper trimmer.
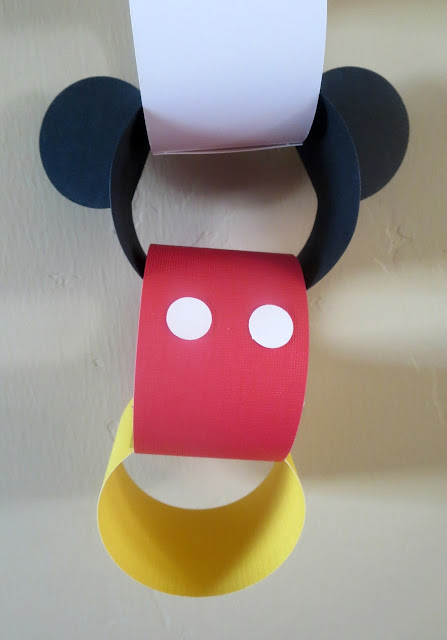
Once you've got everything cut out, lay your strips out in this order: yellow, red, black, white. If you look at mine, you can see that once it's all put together, the order is important because it kind of looks like Mickey Mouse (yellow: shoes, red: pants, black: head, white: spacer). Fun, right?
When you are putting the chain together, overlap the strips by at least 1/2" so that you can staple them together easily. For the black strips, be careful that you face the "ears" all the same direction. After the chain is completed, gently fold the "ears" forward. Place the "button" pieces (2 each) on the red chain. Staple the top-most chain to the bottom of your big countdown shape and hang it on the wall!
This is a super simple project to make, but the finished product is absolutely darling! I almost didn't want to rip any of the chains off because it looked so cute hanging there on my wall.
What does your family do to countdown to Disney or other family vacations?





This is so much fun! I bet your kiddos look forward to taking off the chains each day too :)
ReplyDeleteOh wow! This looks so cute!!! The Mickey ears on it are so creative! I'm sure your kids will have a blast with this!
ReplyDeleteThis is soooooooooooo cute! I love it and I wish I was going to Disney so I had a reason to make this!
ReplyDeleteHow darling! What a great idea- and so cute!
ReplyDeleteHow cute! I love the one with the Mickey ears!
ReplyDeleteThis is adorable! Love this idea!
ReplyDeleteOmg this is so cute! Even if there wasn't a countdown this would be so cute for a party!
ReplyDeleteThis is such a cute idea Shani! My kids love counting down for fun things!
ReplyDelete