So I grabbed the pallet board and opened my Silhouette software on my computer. I know I've mentioned this before, but I use my Silhouette Cameo all the time on all different types of crafting projects. I absolutely love using it to cut vinyl because it's so precise, even on very small images or words. My idea for this project was to use summer words on each row of the pallet board with a simple background.
To make your own pallet art, you will need the following:
- acrylic paint (in your desired colors)
- paintbrushes/foam brushes
- vinyl
- transfer paper
- Silhouette machine (or similar)
- optional: stickers or rub-ons for the words (if you don't have a way to cut the vinyl)
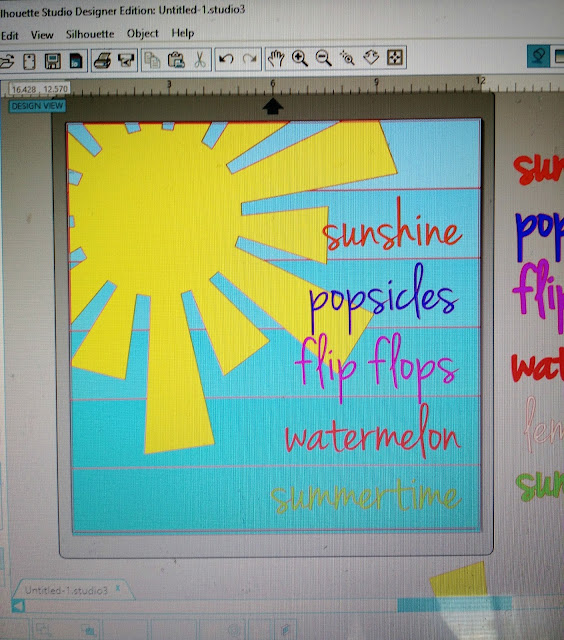
I found the perfect sun cut file in my library and resized it to fill a good portion of the board. Then I typed out a few words that describe summer to me: sunshine, popsicles, flip flops, watermelon and summertime. Then I found a font I liked and arranged the words in an order I liked. As I did this, I realized that I could go from shortest word to longest word from top to bottom which I though flowed really nicely.
To give me a better visual for how the finished product would look, I resized some rectangles to mimic the pallet board, then filled everything in with the colors I wanted to use. You can see what I did below:
To prep for this project, I cut out the sun and words using vinyl. I knew I was just going to use the sun cutout as a stencil so I used some less expensive vinyl I have on hand for just that purpose. Then I cut out the words by opening a new file and copying and pasting the words there. Using the grids, I measured how big each piece of vinyl would have to be to fit each word and then cut it out so I wouldn't waste any and placed it on the cutting mat and cut it out. For the words, I used some new colorful vinyl that I recently received as a promotion to try out and review. The pack I received had 35 6x12 sheets included in all different colors and finishes: shiny, matte and metallic. (I used the shiny kind.) When I used it in my Silhouette Cameo machine, it cut beautifully and I didn't have any problems. It's a great value too. (You can find it here.)
*Note: I received the vinyl at a deeply discounted rate in order to try it out and review it.
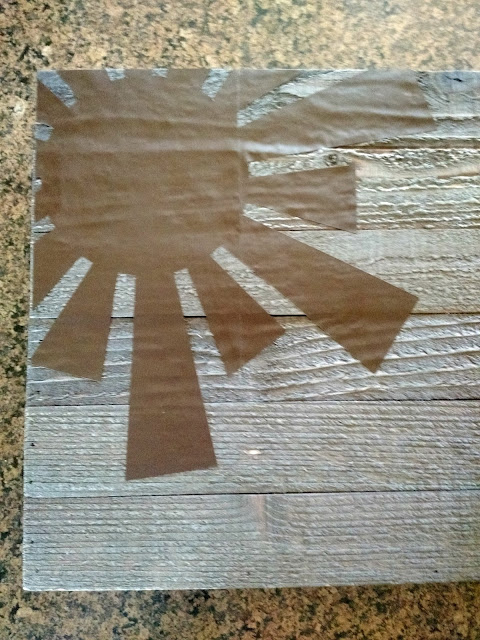
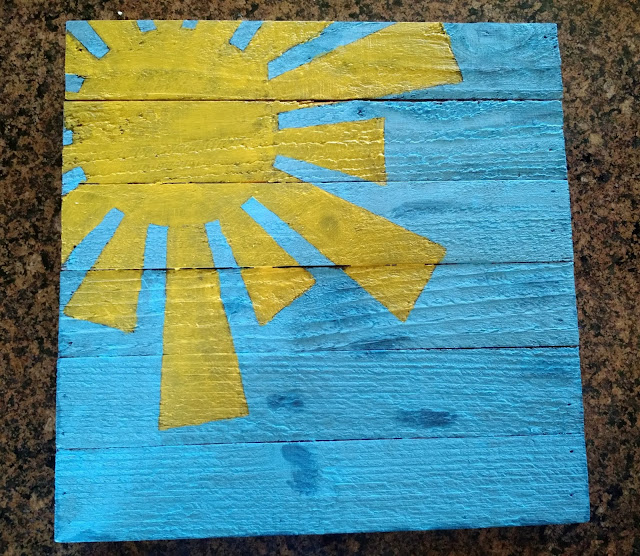
Before placing the sun stencil on the wood, I sanded down some of the roughness with a piece of sandpaper. Then I positioned the stencil on the wood and pressed it out, paying special attention to the edges so that when I painted over it that the paint wouldn't seep under.
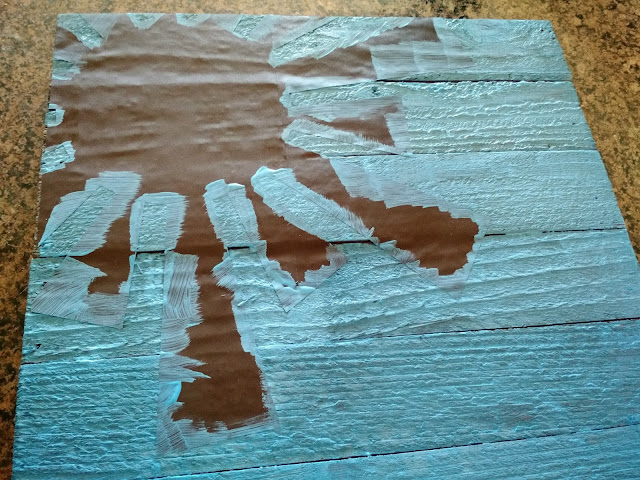
I like the look of distressed wood without worrying about sanding so I used some petroleum jelly (Vaseline) to distress the wood. (You can learn how to do this here.) I dabbed a little here and there trying to follow the grain of the wood.
Once the petroleum jelly was on, I grabbed some acrylic paint and started mixing the colors. Originally, I wanted to do a sort of ombre with the blue background, but it didn't quite work out. If I look at it now, it's a very subtle change in color and not as dramatic as I had hoped. I only did a couple of thin coats and thinking back, I should have done a couple more, especially since the wood was unfinished and soaked up some of the paint.
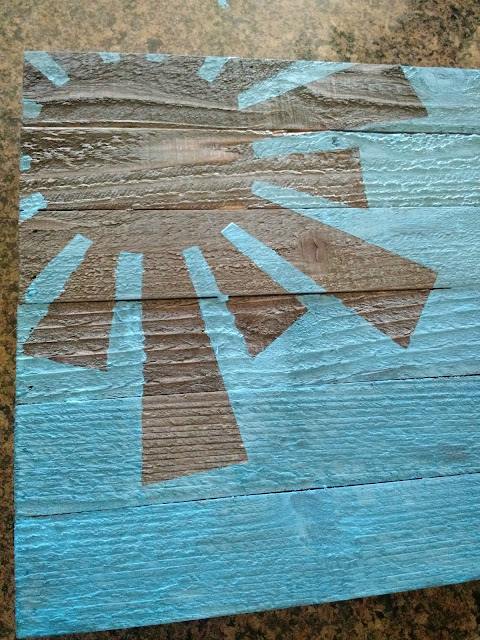
I removed the vinyl stencil while the paint was still drying to create more crisp lines (just like painting a wall, right?). Then I let it dry for another 10 minutes. While it was drying, I added a little more petroleum jelly to the spots where the sun stencil had been so it would appear distressed there as well.
To paint the sun, I used a smaller brush to paint around the edges, then filled it in with a foam brush. I used a little more paint on the sun and I think it turned out a little brighter and more how I would have liked the blue background to look.
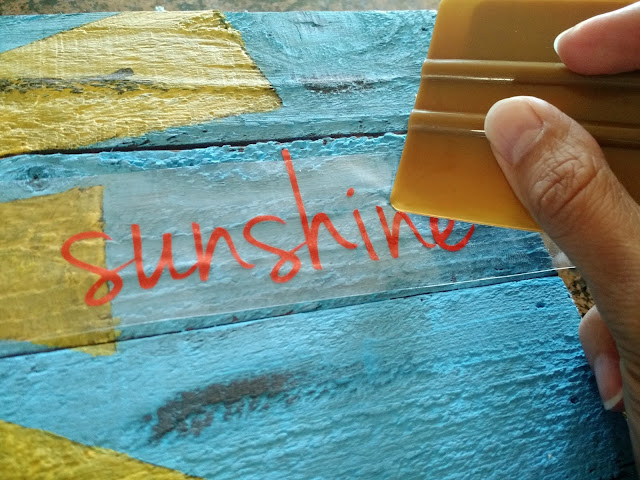
I used a paper towel to wipe off the paint and petroleum jelly (refer to my tutorial) and then I placed the vinyl words on the board. I would definitely recommend using transfer paper for this. One trick I've learned is that you don't need to use a new piece of transfer paper for each piece of vinyl. It will stay sticky enough that you can reuse it a few times.
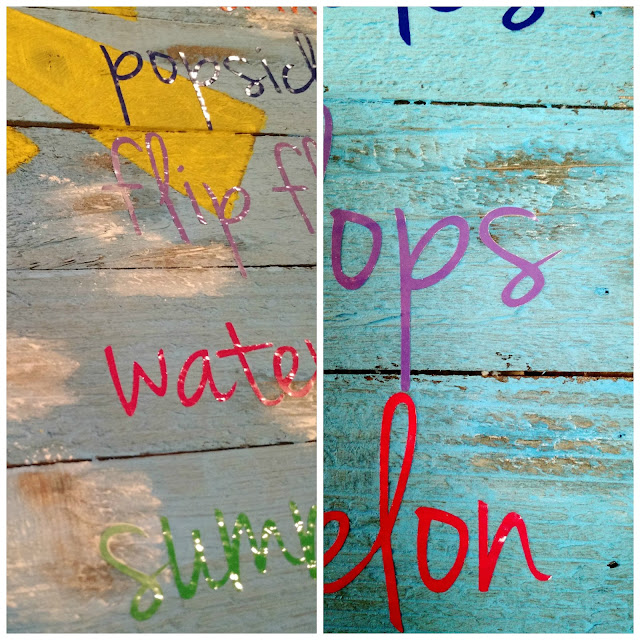
I did run into a little bit of a problem with the wood soaking up some of the petroleum jelly and it was a little hard to get it off and it had sort of a greasy look around the edges of each spot. I think this happened because the wood wasn't sanded down and there were lots of nooks and crannies for stuff to get caught in. But not to worry--I have a solution!
Solution: To soak up some of the petroleum jelly, I sprinkled some baby powder over it and left it for a couple of hours before I blew it off. There were a few places that I had to use my fingernail to get some of the powder off. Overall, the powder did a great job of soaking up the greasiness and I was a lot happier with how it looked.
And now I have a fun, new, summery decoration for my house!
What holiday/season do you lack decorations for?




I'm always concerned I'm not crafty enough to create pretty art like this...but you make it look so easy I might just have to give it a whirl! :)
ReplyDeleteDefinitely give it a try! If you run into any snags or have any questions, let me know and I'll be happy to help. :)
Deletelooks great! wish I was that crafty. :(
ReplyDeleteThank you! And you might be surprised how crafty you can be. Give it a try and let me know if you need any help!
DeleteI read that you picked up an unfinished pallet at wal mart. Do they sell these pallets?
ReplyDeleteYes, I found the unfinished pallet at Walmart in the craft section with the paints, glitter, wood letters, etc. It is a 12x12 pallet. I hope that helps!
Delete