And while deep down I know the purpose of a notebook is just to write things down, another part of me just loves pretty notebooks. However, I don't like spending an extra couple dollars just to have a pretty print or a cute quote on the front. Do you feel the same?
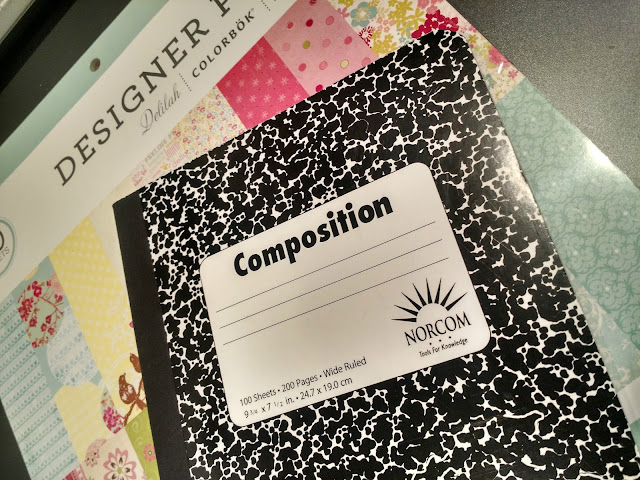
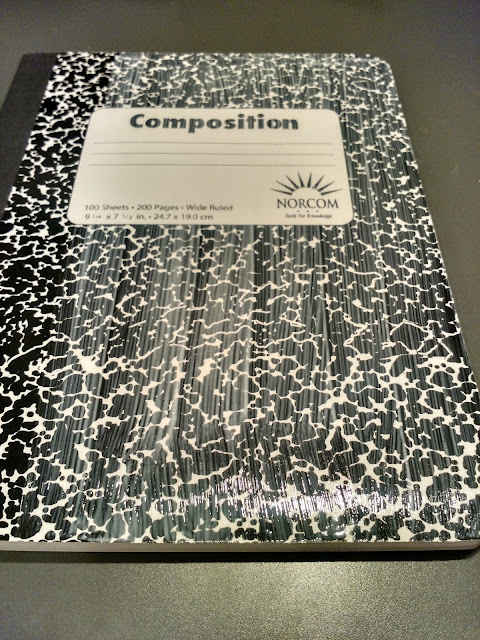
So to make my notebooks cuter, I take advantage of my scrapbook paper fetish and use up some of it on an inexpensive notebook. I'm sure you've seen the composition notebooks at the store. I found mine at the local dollar store (Dollar Tree). The front isn't all that cute and they have these formulas and all sorts of random information on the inside covers that I don't find useful or pretty. So I just cover them up and personalize them.
To make your own notebook, you will need the following:
- composition notebook
- mod podge
- foam brush
- scissors or paper trimmer
- 12x12 scrapbook paper
- vinyl (optional)
- embellishments (optional)
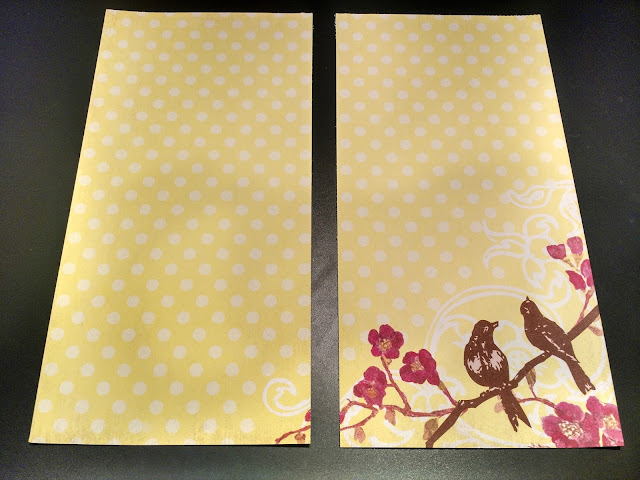
Cut the main paper in half so you have (2) 6x12 pieces.
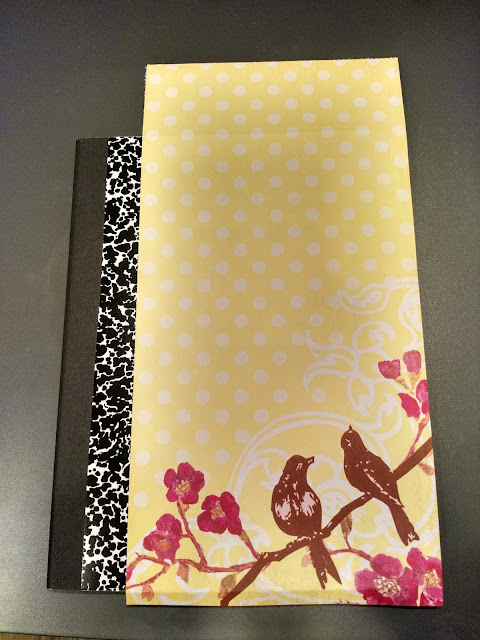
Lay the paper on the front of the notebook so there is about 1/2" overhang on the far right side. Crease the top and sides so you can see about where to place the paper once you get the mod podge on the notebook.
Using a foam brush, spread the mod podge out on the front of the notebook only covering the area that the 6x12 will cover.
Place the 6x12 paper on top of the notebook. Be sure to smooth out the bubbles, working from the middle outward. I have a little plastic tool I use, but you could also use a credit card/gift card to smooth it out.
From here you can do one of two things: 1) cut off the extra paper around the edges, or 2) fold the extra paper around the sides and mod podge it to the inside of the notebook. I prefer the second option because I think it gives a cleaner look.
Once the front is finished, repeat on the back cover of the notebook.
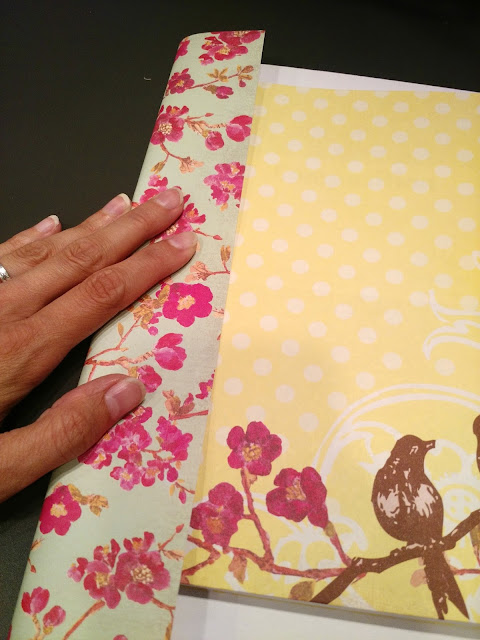
For the binding, you will need to take the second paper you chose and fold it around the binding, making sure to overlap the main paper by about 1/4-1/2". Crease or mark the paper, then trim it to size.
Brush the mod podge on the back of the notebook binding and the front of the notebook. Then place the binding of the notebook on the paper first, then roll it onto the front. This will help you center it. Then mod podge the back of the notebook and fold the paper onto the back. Again, make sure to press out the bubbles.
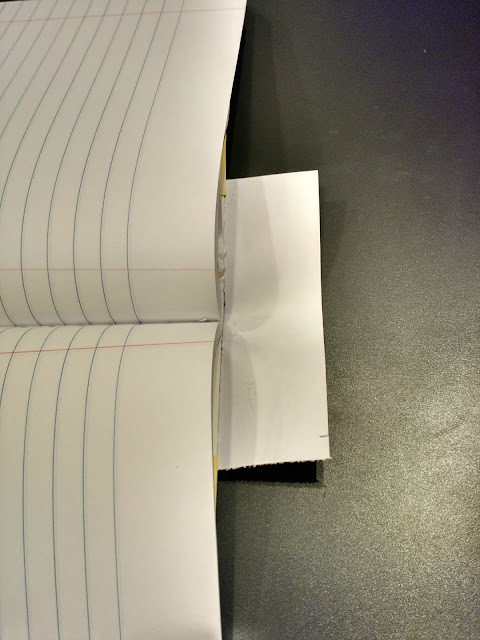
Trim the overhanging paper on the top and bottom of the binding using scissors. It's easier to trim it if you open up the notebook.
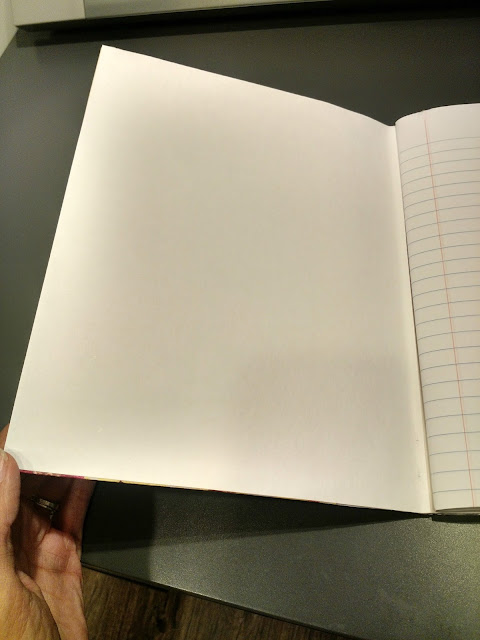
If the inside of your notebook has random formulas and grammar rules like mine did, you can cover those up by mod podging some plain white (or coordinating) cardstock onto the inside. Easy peasy.
From here, you can be done if you like how it looks, or you can add more embellishments.
I thought it looked a little plain so I just cut out a couple of words from vinyl using my Silhouette and I think it added just the right touch.
These would make great gifts for family or friends to use as journal or to-do list notebooks. Another cute idea is to use it as a notebook to pass back and forth between you and your child, writing letters or notes to each other. You could make these for a craft night with your friends or local church group or even a girls camp craft. Super easy and super inexpensive.
What would you use your notebook for?







These would make great personalized gifts - thanks for the instructions!
ReplyDeleteYou're welcome Sheila Jo! And I completely agree! There are so many different ways to personalize this type of project, no matter who it's for.
DeleteThese are so cute! I love this idea, and it would be such a fun project too.
ReplyDeleteThanks Shann!
DeleteI use mine as a prayer journal. Also, I am working on a series of menu plans for two and making a journal for this. It has not only menu plans, but recipes, side, decor ideas and suggestions for each meal. (I got the idea from Giada on Food Network).A friend uses her to take sermon notes at church and another carries hers with her and uses it for ideas and jots down notes, makes lists..sort of an unorganized planner. So many ideas.....
ReplyDeleteThanks for all the tips. I look forward to trying this out.
ReplyDeleteLove your blog. So awesome. Thanks for sharing this way of using Mod Podge. Lovely DIY tutorial.
ReplyDeleteThese are so cute.
ReplyDeleteI love this creative diy project.
ReplyDelete