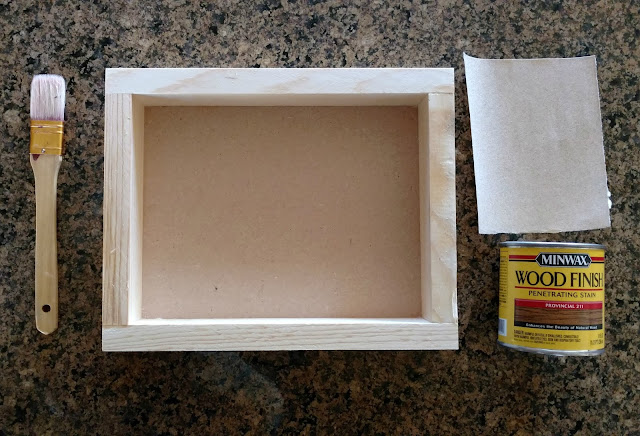
As I pulled out my supplies I went through a mental checklist of the things I needed:
- sandpaper
- wood stain
- paintbrush
- old t-shirt or rag
The first step is to prep your wood by sanding it. The instructions on the can of stain say to use fine-grade sandpaper (#220), but I only had #150 so I used that. The wood was already pretty smooth with the exception of one edge. Then I used a baby wipe to wipe off the excess wood dust.
Next, I popped open the can of stain. (I used Minwax Wood Finish Penetrating Stain in Provincial 211.) I dipped my paintbrush in the stain and applied it to the shadow box in the direction of the wood grain, trying to get an even coat.
After I finished applying the stain, I let it sit for about 10-15 minutes. Then I took an old t-shirt and started wiping the excess stain off. Then I let it dry outside for an hour or so. (It was too stinky to keep inside.)
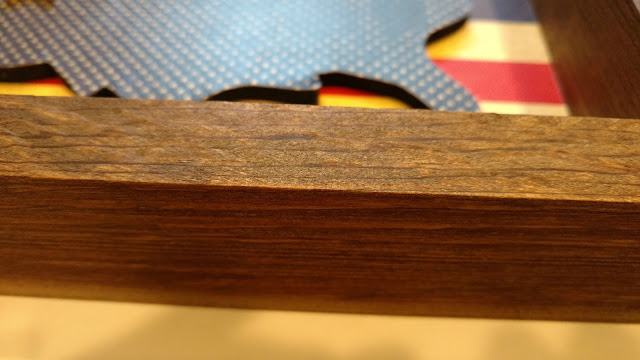
When I brought it in, I finished it off with some scrapbook paper on the bottom and a wood cutout of the United States that I had mod podged while the stain was drying.
 |
| See that grain? So pretty! |
Now that I've stained wood, I don't know what was keeping me from doing it in the first place! It was so easy and the result is exactly what I was looking for. (If you're nervous about it, just start with something simple like a shadow box or a wood block.)
Do you have any tips for staining wood?


this is such a cute little project! If i was more artistically talented i might attempt it.
ReplyDeleteThank you! If you ever decide to try stain, you know where to find me and my little tutorial! ;)
DeleteWhat a cute project!
ReplyDeleteAlyssa @ Feathers and Stripes
Thanks Alyssa!
DeleteThank you for the tutorial! I am getting ready to sand and stain my dining room table. I have never done it before, so that's helpful!
ReplyDeleteI'm so glad you found some helpful tips! Good luck with your table! :)
DeleteSo cute!!! staining a larger project is serious WORK though. I redid a kitchen table a few months back and... phew!
ReplyDeleteThanks Amanda! And I'm sure you are right about bigger projects being more work. This shadow box took me about 20 minutes (not including drying time), but a kitchen table would take hours I bet!
DeleteThis turned out so cute! Have you ever tried gel stain by General finishes? I LOVE it and it's so easy to use. No sanding or any prep required!
ReplyDeleteI haven't! I'll have to give it a try. I'm all about anything that makes projects easier. Thanks for the recommendation Gina! (p.s. Your blog is super cute!)
DeleteThis is so cute! What an easy and patriotic looking project! :)
ReplyDeleteThanks Cara! It was definitely one of the easiest projects I've ever done.
Delete