This post contains affiliate links which means if you click on a link and make a purchase, I will receive a small commission at no additional cost to you. Thank you for your support!
Smooth Heat Transfer Vinyl
What is smooth heat transfer vinyl?
Smooth refers to the texture (or lack thereof). It feels like soft paper and with the backing is about the thickness of a sheet of printer paper. You can do more intricate designs using smooth vs flocked.
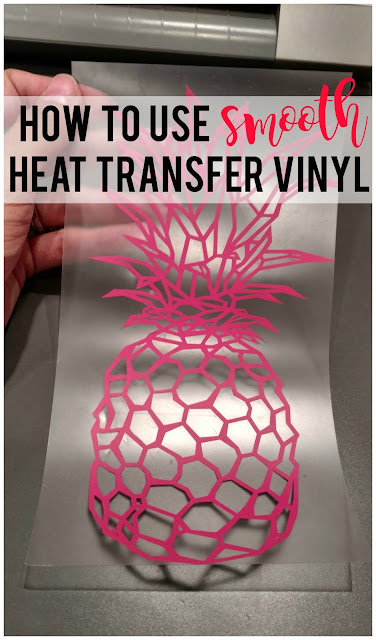
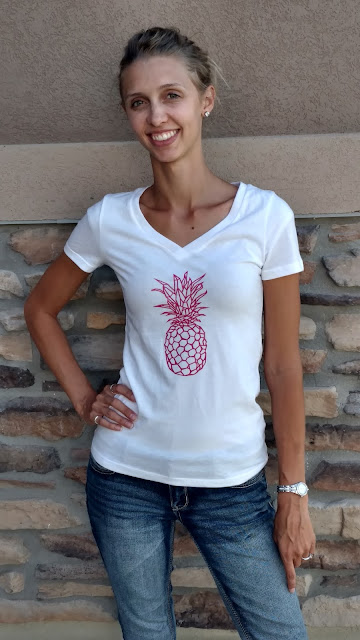
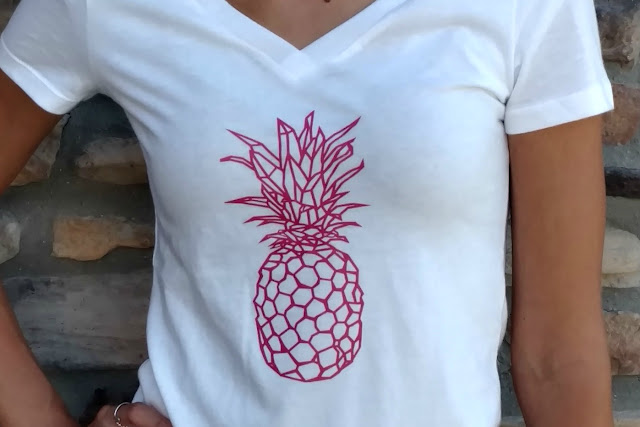
When I was buying my favorite v-neck t-shirts from Target to make the mama bear t-shirt, I knew that I wanted to make at least one other t-shirt using the smooth HTV. I was mentally scrolling through my Silhouette library and remembered a fun geometric pineapple that I knew would be perfect. Pineapples are kind of a trendy thing right now when it comes to clothes and accessories, but honestly, I think it's a trend that will stay around for a while.
To begin the process, I pulled up my Silhouette studio software and grabbed the pineapple file from my library. Then, I pulled out my shirt and laid it out flat on the ground and used a ruler to get a basic estimate of the available space. (The sheets of HTV were only 9x12 so any one image couldn't be bigger than that.) I decided on a size I thought would look good on the shirt and resized the pineapple in my software by making it a little taller and wider than the original.
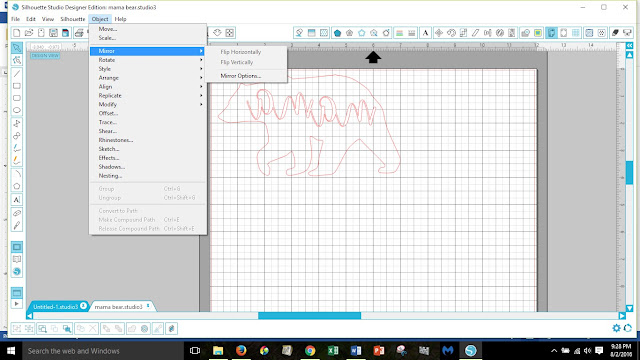
*TIP* If you are making a design with text, you will need to make sure that you flip the entire image (either horizontally or vertically depending on your design). This is an important step because when you cut the vinyl, you are cutting on the BACK, hence the reason why you'd want to make sure your image is flipped. Otherwise, you'll end up with backwards text. You can flip your image by selecting all the pieces that need to be flipped, clicking 'Object' in the tool bar, scrolling down to 'Mirror' and then choosing either 'Flip Horizontal' or 'Flip Vertical'.
Although I could have left the pineapple exactly how it was, I decided to flip it because I liked it a little better. Totally a personal preference.
Next, I placed the HTV shiny side down on my cutting mat and loaded it into the machine.
*TIP* Some of the tutorials I saw said you could load the vinyl directly into the machine, but I didn't do this because I didn't want to run the risk that it would slip while being cut, so I place my HTV on a cutting mat before loading it into the machine.
Before I cut anything on my Silhouette, I always check the cut settings to see what I need to set my blade to.
Because smooth HTV is thinner than flocked HTV, you will probably only need to set your blade to a 2 or 3 depending on how new/old your blade is.
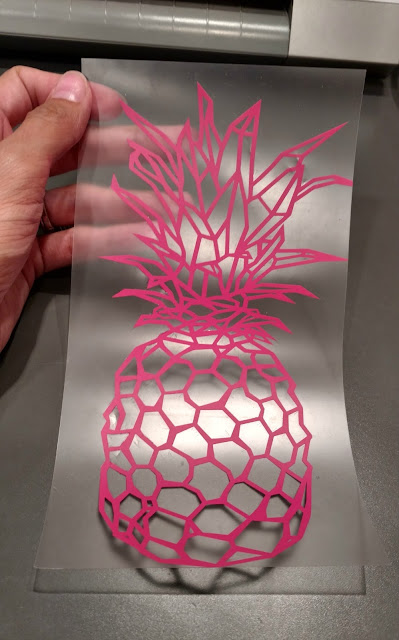
Then, press the cut button and watch the magic happen. Maybe I'm weird but, I always find it so fascinating to watch the whole cutting process! After it was finished, I unloaded the cutting mat and removed the HTV. Then I cut around around the pineapple design and set the rest of the HTV aside to use on another project.
Now, here comes the next step: weeding. Weeding is where you remove all the pieces of HTV that aren't part of the design. With the mama bear design, all I had to weed out was the word 'mama'. With the pineapple design, I was weeding out a million little pieces due to the geometric nature of the design. I think all together it took me about 45 minutes. Thank goodness I had the little weeding tool that came with my Silhouette heat transfer vinyl starter kit. Otherwise, I seriously don't know how long it would have taken me.
*Note: Neither the vinyl nor the backing is sticky, so it differs from regular adhesive vinyl in this way. Be careful when you are weeding so that you don't pull or stretch the vinyl.
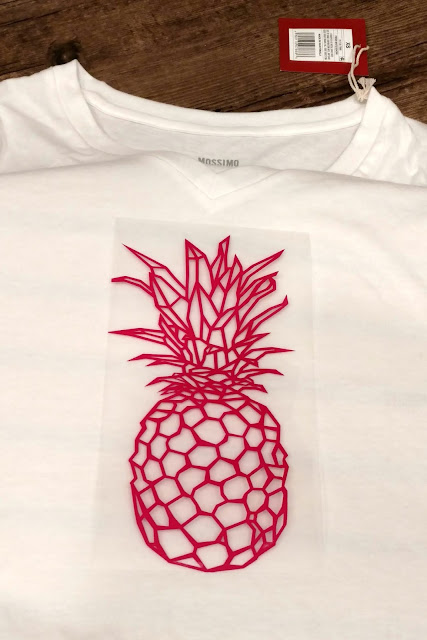
Once the weeding was done, I turned on my iron to the hottest setting and laid my t-shirt on top of the ironing board. Then I positioned the pineapple where I wanted it, making sure it was shiny side up.
*TIP* Do not iron directly onto the plastic backing. It will melt onto your iron. Use some cotton fabric doubled-up or one of these heat transfer cover sheets.
When my iron was hot, I double-checked the placement on my shirt and placed the cotton fabric and then the iron over the top of the design. Press firmly for 45-60 seconds. I just counted in my head and checked it after 45 seconds, then moved my iron over to cover more of the design, counted another 45 seconds and so on, until I felt I had ironed everywhere.
I removed the cotton fabric I'd used and gently pulled on the plastic to see how well the vinyl would come away from it.
*TIP* There will be a little bit of resistance, but the edges of your design should stay on the surface you've ironed it to if you've done it correctly. If not, just replace the cotton or cover sheet and press the iron in the spots(s) that need a little more heat.
Since the pineapple design I'd chosen had a lot of edges and points, I made sure that it was ironed on really well before attempting to pull the plastic backing off.
As soon as the shirt had cooled off, I tried it on and then went out to model it for my husband who said he liked it.
All in all, I really liked how my shirt came out! I haven't had any problems with the vinyl lifting although I am going to be sure to wash it inside out to give it a little more protection.
I hope you've found this tutorial helpful! If you have any questions, feel free to leave me a comment or email me at sunshineandmunchkins@gmail.com.



Love this idea!
ReplyDeleteEmmy Coletti
Thank you Emmy!
DeleteHow cool!! I would love to do this.
ReplyDeleteThanks Taylor! It's a lot of fun!
DeleteSo cute!!! I love this -- pineapples have been one of my favorite details lately :)
ReplyDeleteThank you Lora! Pineapples are so fun!
DeleteI love the pineapple trend. This shirt is adorable!!
ReplyDeleteThank you Sarah! Seriously, pineapples are so cute. One of my favorite trends for sure.
Delete