This post contains affiliate links which means if you click on a link and make a purchase, I will receive a small commission at no additional charge to you. Thank you for your support!
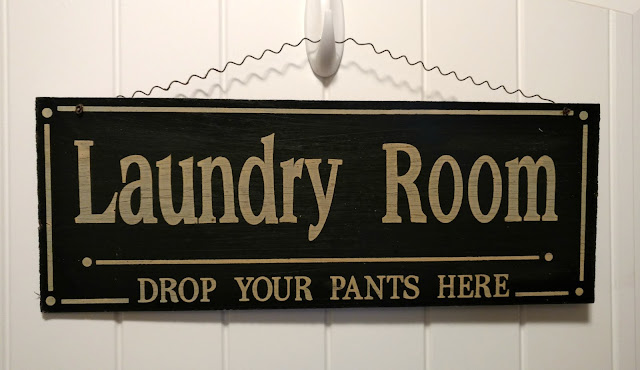
So this is what the sign looked like before I painted it. A little sad, a little dated, but still in great shape.
Supplies needed:
- wood board or plaque
- acrylic paint in desired color(s)
- foam brush
- weeding tool (optional, but highly recommend)
- vinyl
- transfer paper
- sandpaper or sanding block
- sawtooth hanger, ribbon, jute or other material to hang sign (optional)
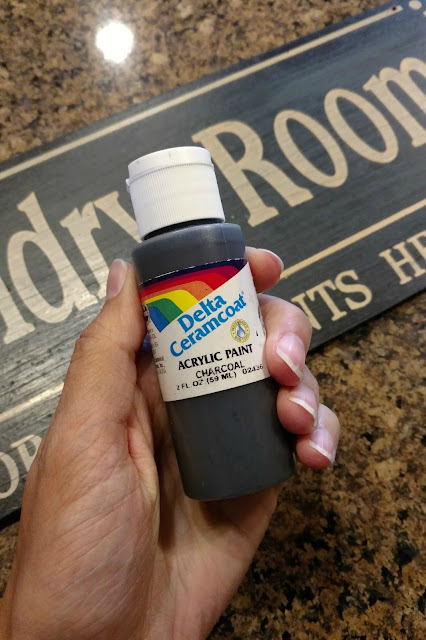
Next, paint your surface. I did two coats of paint (in charcoal) to make sure I covered the original color and letters really well and then let it dry completely.
While the board is drying, I created my design. I use my Silhouette Design Studio for my Silhouette Cameo to do this and it made everything SO easy. I changed the size of my design page to the size of my board (16x6) so I could get a really accurate representation of how everything would fit. I used the font Magnolia Sky for 'Laundry Room' and Bebas for 'wash dry fold repeat'. Both fonts are free. Get Magnolia Sky HERE and Bebas HERE. (Also, check out my tutorial for installing fonts HERE.)
Once I had everything the size I wanted, I opened a New Drawing (blank page) and changed the design page back to 12x12 since that is the size of my cutting mat. I copied the text and pasted it, then put it on the page to minimize the amount of vinyl I'd need to use to cut everything I needed. Then I sent it to cut.
I removed the vinyl from the machine and then used my weeding tool to pull out the smaller pieces of vinyl. Then I pulled off the remaining vinyl around the letters, so that when I was done, all I was left with was the words on my backing.
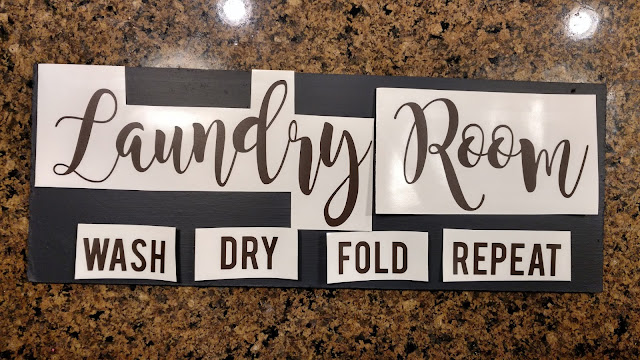
Next, I arranged the words on my board so they were close to where I ultimately wanted them. (You could skip this part if you're really confident about where everything is going, but I always like to do this first so I can visualize the final product easier.)
Then I peeled the backing off of the transfer paper and laid the sticky, clear part on top of the words. After doing all the words, I used this little vinyl application tool I got a long time ago that has a hard plastic edge to it to rub the vinyl underneath the transfer paper and smooth out bubbles. I've seen people use credit cards for this too. (This helps it adhere to the transfer paper so when you pull the backing off the vinyl, it sticks to the transfer paper more easily.)
Now, I slowly pulled the backing off of my vinyl. Try to pull in the direction of the curve so you don't risk stretching or ripping the vinyl.
Next, very carefully place the words on the board. You don't want to press down just yet because if you need to move the words you want it to come up easily. When everything was where I wanted it, I pressed down on the vinyl to keep it in place, then used my hard plastic edged tool to rub on top of all the letters. Then, I removed the transfer paper slowly in case any part of the word was still sticking to it.
*Tip: You can reuse transfer paper. Just put the backing from the transfer paper back onto the clear transfer paper and store it away until next time. This is a huge money saver!
(If you used the color of vinyl you wanted, then you are done and can admire your work! But if you want to paint over the top of your words like I did, keep following along.)
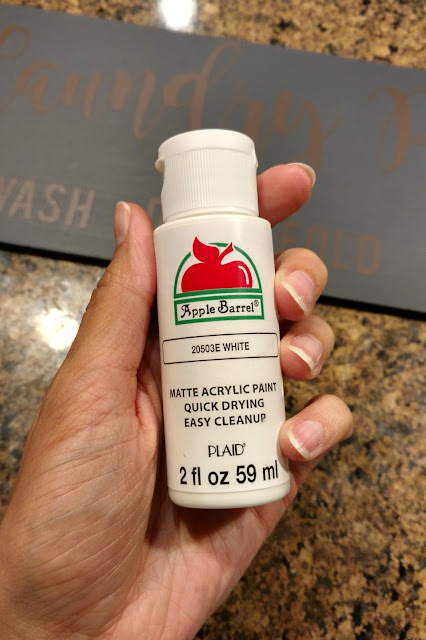
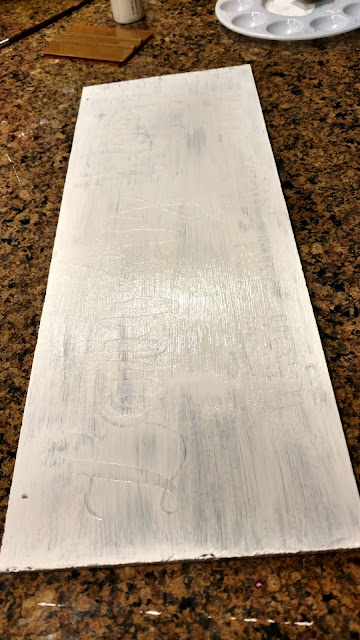
After pulling the transfer tape off, I inspected the edges of the vinyl to make sure there weren't any bubbles or anything preventing it from adhering to the surface. You want a really good seal. Once this was done, I grabbed my white paint and did two coats.
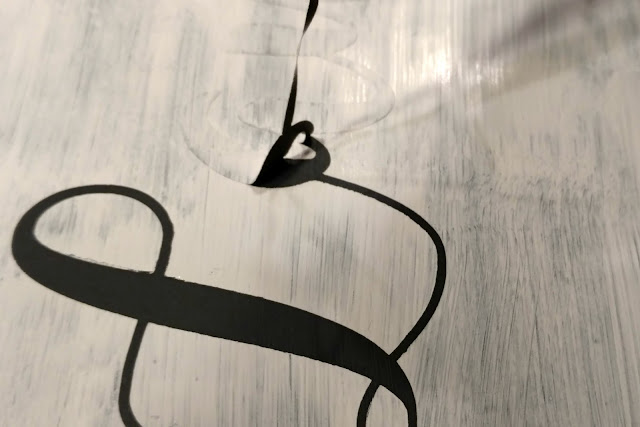
I let it dry for about 5 minutes, then grabbed my weeding tool and carefully used it to snag the beginning of the word. Once I had a piece big enough to hold onto, I used my fingers to pull the vinyl off, going slowly and trying to pull in the direction of the curve.
If you happen to wait a little too long before pulling the letters off, you might end up with some edges that aren't totally smooth (which is what happened to me). For me, I didn't worry about this because I knew I wanted to sand the sign and distress it a little and once I did that, you couldn't tell.
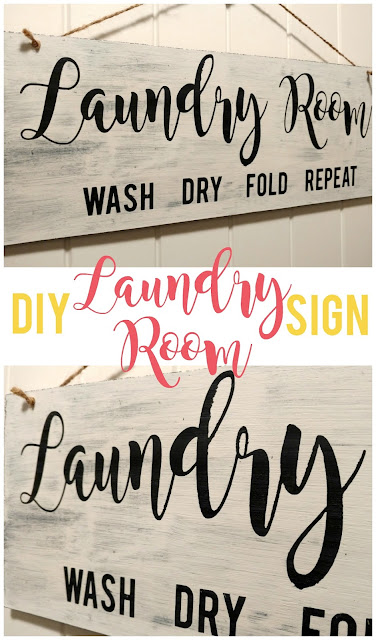
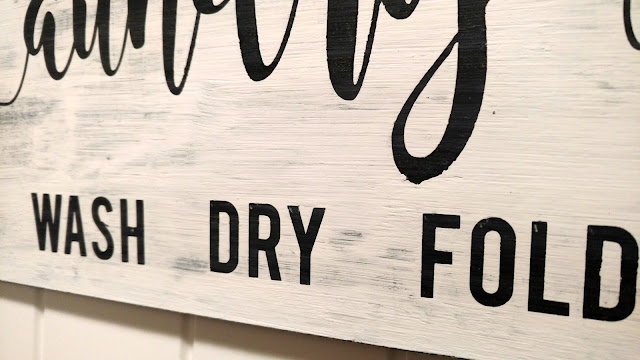
Allow the paint to finish drying completely. You can either end here and hang up your amazing sign, or you can use some sandpaper and distress the edges and top a bit to let the bottom paint color come through.
And that's it! I hope this tutorial gave you a little bit of inspiration to add something cute to your laundry room.
Happy crafting!







I've been wanting a Silhouette Cameo! Love this project!
ReplyDeleteThey are the best! I highly recommend getting one if you can.
DeleteThis turned out so cute! Make me one? ;)
ReplyDeleteHaha, thanks Britt!
DeleteWhat a great makeover! I love the font!
ReplyDeleteThank you Ashley! It's one of my favorites and I use it all. the. time. ;)
DeleteHow darling is this!?! What a fun way to spruce up a laundry room. Love it!
ReplyDeleteThank you Christine! I love the new look.
DeleteSo cute! I need to make something like this. Thanks for sharing.
ReplyDeleteIt was so easy! I hope you're able to make your own soon.
DeleteThis is so cute! I seriously need to get more crafty! You can do so much for your home!
ReplyDeleteSo true Katie! I love making new things, repurposing old ones and just adding my own touch to my home.
DeleteThis is adorable and doesn't look TOO hard. I love how it turned out!
ReplyDeleteThanks Kelsie! It was pretty easy!
DeleteSo cute! And love that you simply updated an old piece!
ReplyDeleteThanks Joy! I love making over things I already have into something new.
DeleteI love using my Silhouette to make stencils for painting! I love the way you rehabbed an old sign!
ReplyDeleteI LOVE my Silhouette! One of my favorite purchases ever.
DeleteI love the new sign! Great update! :)
ReplyDeleteOne day, I'll get a Silhouette also. Hehe
XO, Vanessa
Thank you Vanessa!
Delete