When we were building our house about 5 1/2 years ago, we chose a few upgrades at the time, such as marble counter tops in the kitchen, better carpet and padding, 2-panel doors and a bigger garage, just to name a few. Looking back, one thing I wish we'd upgraded to were the staggered cabinets. You know, the kind that have varying heights instead of being the same all the way across. It's totally an aesthetic thing and doesn't give any advantages besides maybe a little more space between the counter and the bottom of the cabinets. But after trying to decorate above my cabinets for the last 5 years since we moved in, it's something I'd really like to do in the next house we move into.
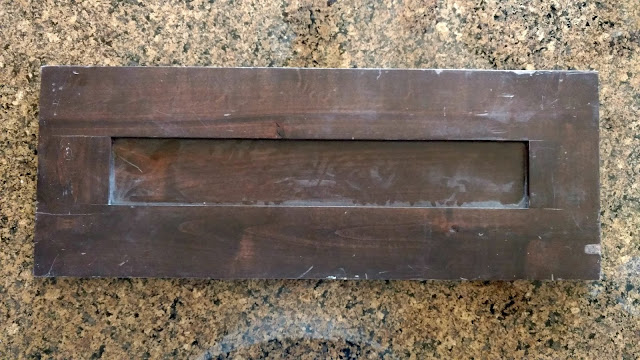
One day a couple of weeks ago, we were at a discount home store called ReStore which is run by the Habitat for Humanity. They have a huge warehouse full of anything you might need for your home in terms of fixing it up. We were actually there to buy paint for our garage (one of the many home projects we've been working on this summer) and I wandered over to the cabinet door section. I've been searching for the right size of door so I could turn it into a sign to put above the cabinets and that day I was lucky! I found the perfect shape and size for a whopping $4. I couldn't wait to get started.
This last weekend while my husband was organizing all his tools and whatnot in the garage (with the help of our 4 year old who loves to sort) and my son was napping, I knew it was the perfect time to pull it out. The only thing I knew for sure was that I wanted to use the word "gather". I thought it was a fitting word since that is usually what happens in the kitchen.
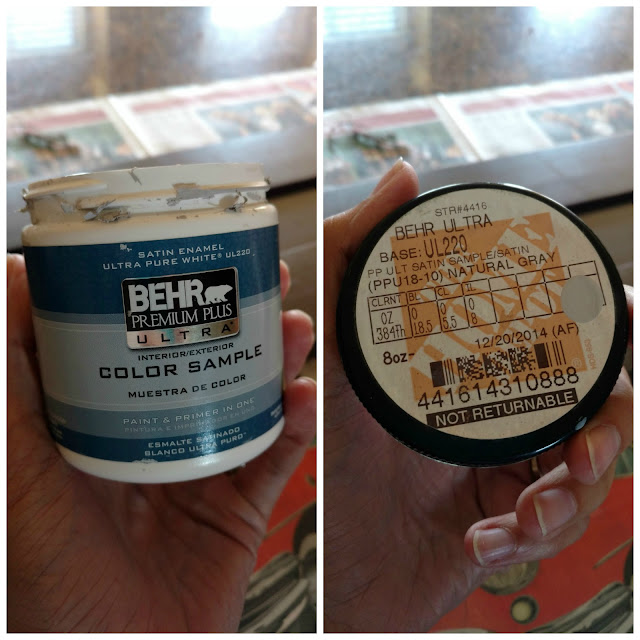
To paint the cabinet door, I used some sample paint we got when we were trying to decide what color to paint our basement. We didn't end up using the same color as the sample, but it was a good color for the sign. It is good quality Behr paint with the primer and paint in one. I didn't worry about sanding it down at all, but I did give it a good wipe down before starting. I used two coats of paint, getting it as even as possible. (If you use a different type of paint, such as acrylic or chalk/milk paint, the number of coats you need may vary.)
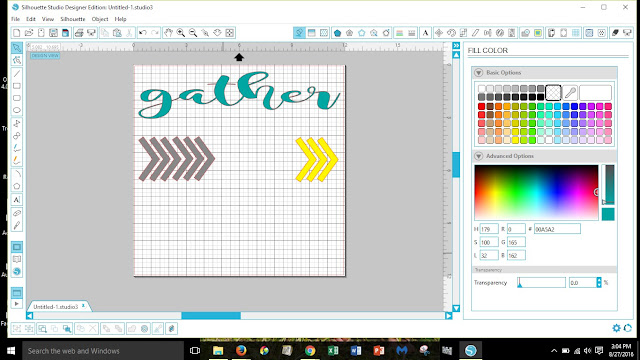
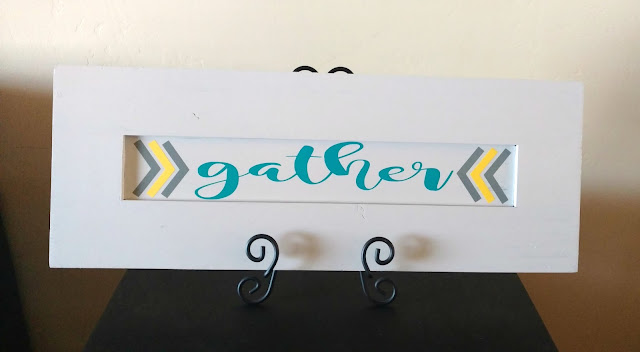
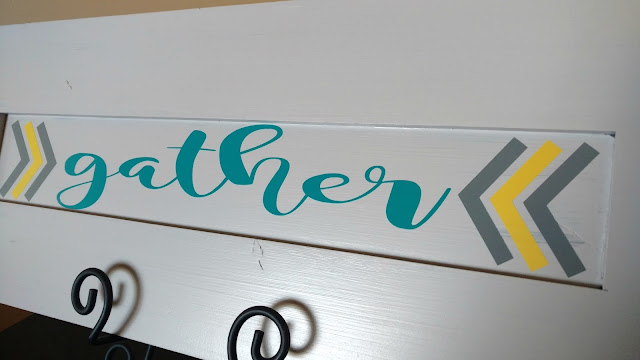
While the paint was drying, I pulled up my Silhouette software and started working on a design for the sign. The cabinet door itself measures 23" x 8 3/4", but the space in the middle where I wanted to put the words and only measures 17 1/4" x 2 3/4". I typed the word "gather" and then went through the different fonts until I found some I liked. Then I compared them to each other and finally decided on the font Magnolia Sky which you can get for free HERE (the same font I used for my mama bear shirt). I stretched the word out to fit the space but made sure it was still readable.
After looking at the word for a couple of minutes, I realized something was missing, so I opened my Silhouette library and grabbed some cute arrows to put on either side of "gather". It was the perfect touch! For the vinyl, I used some from the pack I bought when I made my Summer Pallet Art and Mod Podge Notebook. I've loved having such a great variety of colors to choose from when I need to add a little bit of vinyl to a project. (You can buy some HERE.)
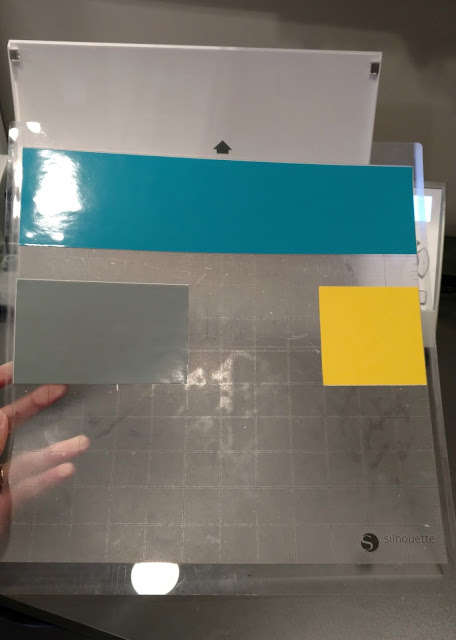
I organized my design in my software so that I could cut all three colors of vinyl and my shapes at the same time by using the grid feature, then cutting my vinyl down to size and spacing it out on the cutting mat. Then I loaded it up and let the Silhouette do it's thing.
Before I transferred the vinyl to the cabinet door, I used some transfer paper to make lining it up easier. I also moved two of the yellow arrows to be in the middle of each set of grey arrows and cut out some transfer paper for those. I measured the middle of the sign and the middle of the word "gather" and lined them up before pressing the vinyl to the sign. I just kind of eyeballed the arrows before pressing the vinyl down.
*Note: One great thing about transfer paper is that you can usually use it a few times before it's not sticky anymore. Just save the backing and put the paper back on it after you're done. This saves money and who doesn't want that? *wink*
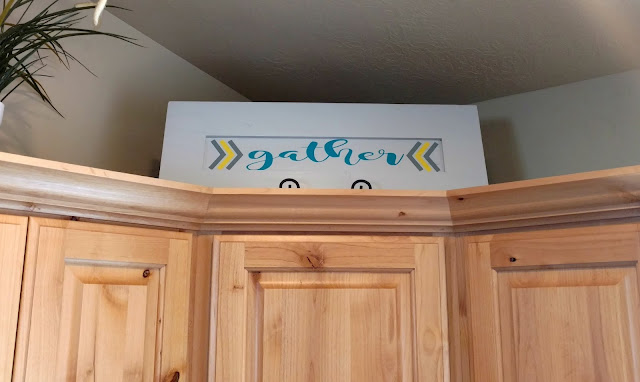
I found a small easel to set the sign up on and placed it above the cabinets.
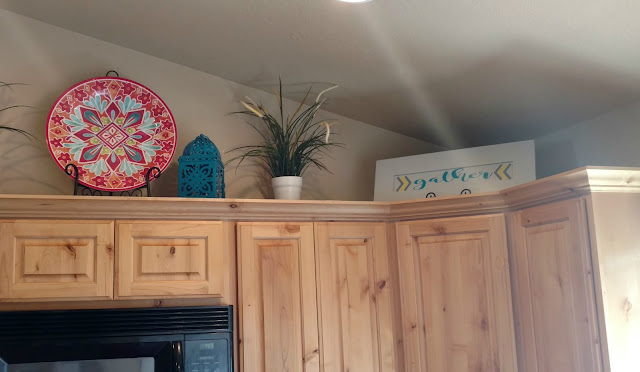
I totally love how it turned out! The size was perfect for the space and the colors coordinated well with the plate I used as my color inspiration. (You can see the plate in the second picture below.) Now I just need to decorate the rest of the space. *sigh* One thing at a time I guess...
What do you have above your cabinets? Please share so I can get some ideas!
Also, remember to hop over to the guest post for Bellissimo Bebe and enter the giveaway! (Ends Sept 6, 2016 at 12AM.)
This post may contain affiliate links which if you click on them and
make a purchase I will receive a small commission at no additional cost
to you.





I need to decorate above my cabinets! It's something I haven't done yet :)
ReplyDeleteI honestly thought it would be so much easier than it's been! I think part of the problem has been that anything I put up there has to be tall enough to be seen over the edge/molding.
DeleteOh this is cute! and I love the colors you used!!
ReplyDeleteThank you Alyssa!
DeleteThis is so cute! I have a Silhouette and never use it, but this looks like such an easy project!
ReplyDeleteThanks Falon! I use my Silhouette all the time and definitely wouldn't have been able to make this as easily without it.
DeleteI love this! I keep meaning to do fun DIY things like this but haven't gotten around to it yet. Ahaha I saw your signature and thought we have the same name at first (super close)!
ReplyDeleteOur names are very close! I've had people call me Shari before. This particular project has been on my mind for quite a while, but I just couldn't find the right cabinet door to make it.
DeleteThat turned out fabulous! And those colors are gorgeous!!! LOVE!
ReplyDeleteThank you so much Samantha! :)
DeleteA cabinet door is a great idea for a wood sign!! I hadn't thought of that. Cute project!
ReplyDeleteThank you Lora! I wish I could take all the credit for originality, but I'm sure I saw something like this somewhere.
DeleteThis is seriously so clever! I love it!
ReplyDeleteThank you Aleigh! :)
DeleteHow clever! I love this, and it turned out super cute!
ReplyDeleteThanks Sumer! I appreciate the compliment. :)
DeleteI love this idea! Thanks for sharing all the details!
ReplyDeleteThank you Bridget! And you are very welcome. :)
DeleteIt looks great and so creative that you thought to use a cabinet door for this. I love the colors. Currently, I have nothing on the top shelves.
ReplyDeleteThanks Zan! I love the colors too. Decorating above the cabinets can be so tricky and I'm always excited when I find something I love.
DeleteLOVE this, Shani! Looks so pretty on top of the cabinets. And I think you decorated nicely, even with the difference in ceiling height. I currently have nothing above my cabinets...looks like I have some DIYs to think about!
ReplyDeleteAw, thank you Sarah, you're so sweet! Decorating above the cabinets has been a challenge for sure. Good luck getting yours done! :)
DeleteI love the sign and how it turned out! Can't believe you got it for $4!! Such a great deal!
ReplyDeleteThank you Sabrina! And I know, right?! $4 was a steal and the shape and size were exactly what I was looking for.
Delete